10C: Brochure Activity – Duplex Layout

Introduction

You will setup the layout for two different folding duplex (two-sided) brochures. You may choose to use one of these layouts for your 12A brochure project. It can be confusing to transfer a three-dimensional brochure to a flat computer screen. Always create a paper mock-up.

Activity Example


Instructions

1. CREATE A FOLDER

Create one main folder for the entire activity and name it with your name: 10C1Jake Spencer. Add two sub-folders inside and name them: Newsletter and Offset.

2. CREATE TWO BROCHURE LAYOUTS

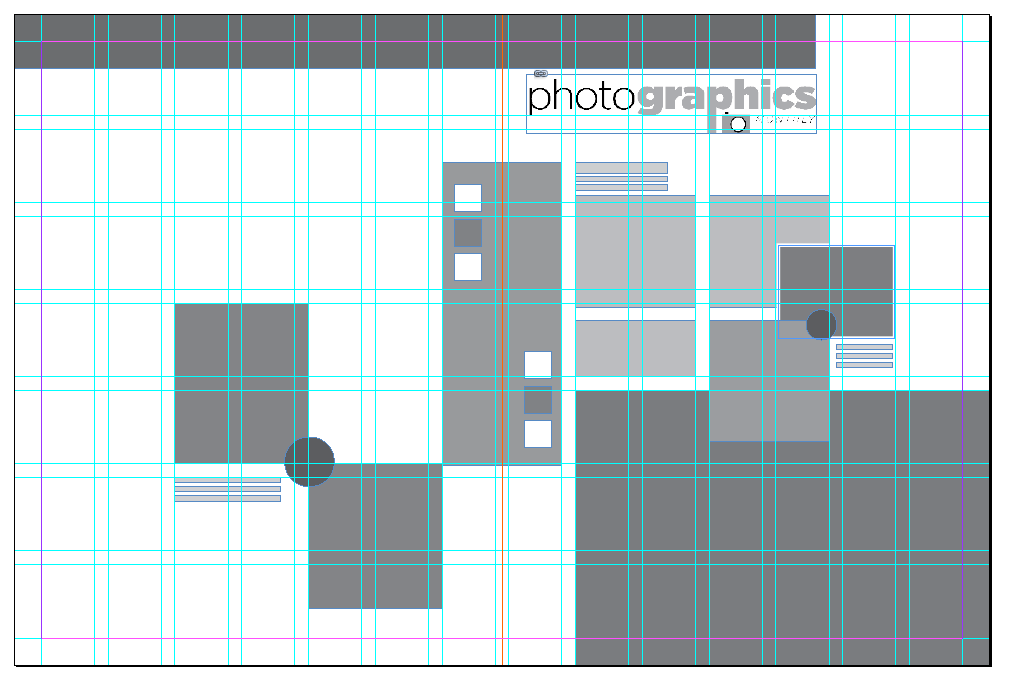
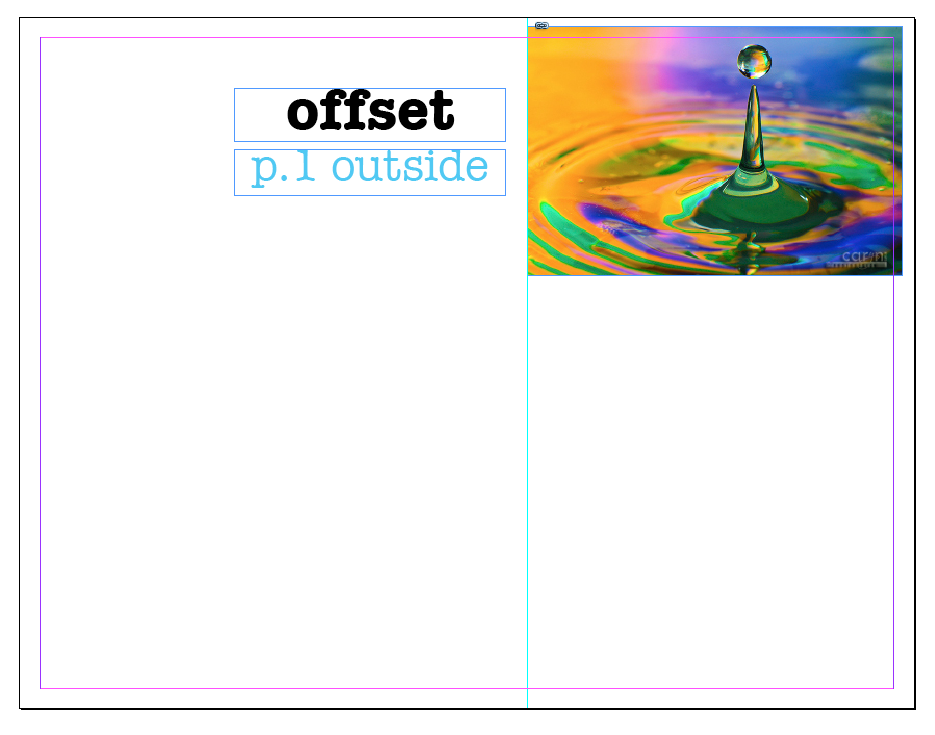
Open and complete the brochure tutorials (below) for each brochure layout: 7×7 Grid Newsletter (18×12) and Offset Brochure (8.5×11).


Newsletter Tutorial (click the image to open or click the link below)


Offset Tutorial (click the image to open or click the link below)

3. CHECK FOLDER

Once you have completed the Newsletter and Offset brochure tutorials check that your Main folder contains two folders:

• Newsletter (with two files): 10CJakeSpencer-Newsletter.indd; photographicslogo.png
• Offset (with six files): 10C1JakeSpencer-Offset.indd; 10C1-CarynEsplin-orangepinnacle.jpg; 10C1-CarynEsplin-crown.jpg; 10C1-CarynEsplin-redpinnacle.jpg; 10C1-CarynEsplin-orangecrown.jpg; 10C1-CarynEsplin-sphere.jpg;

4. ZIP PROJECT FOLDER

Right-click the folder and choose “compress” on Mac and “zip” on PC.

5. SUBMISSION

Go to 10C Submission and upload your .zip file. Once you have attached the file, click on it to make sure the file opens correctly before you submit it. Hit “Submit to Dropbox”.