
6A: Montage Project
Client Situation
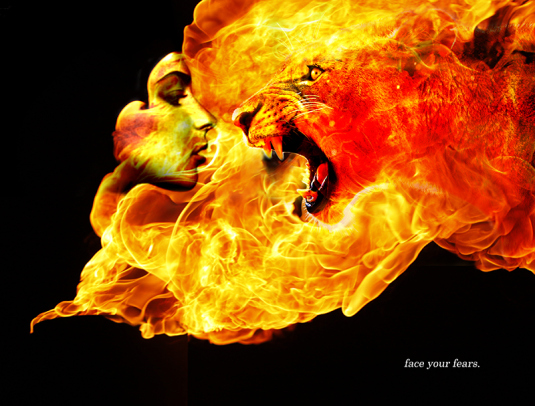
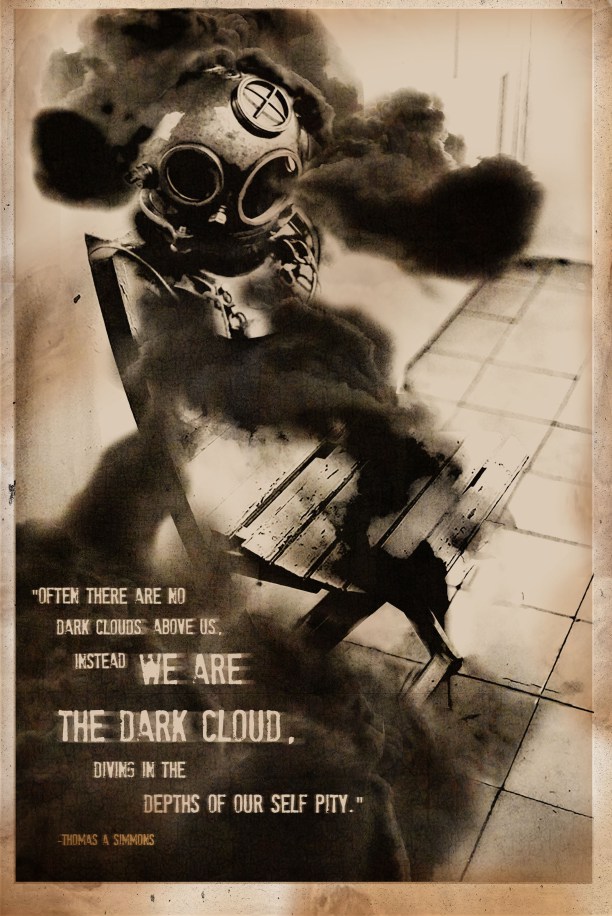
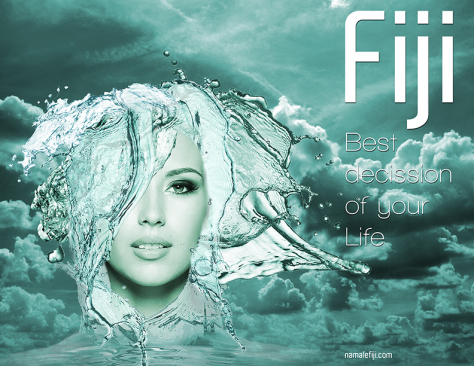
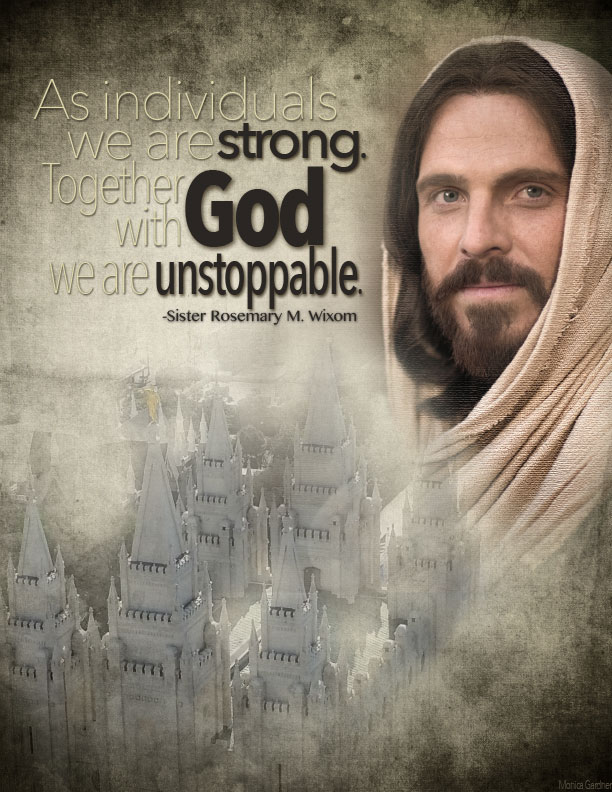
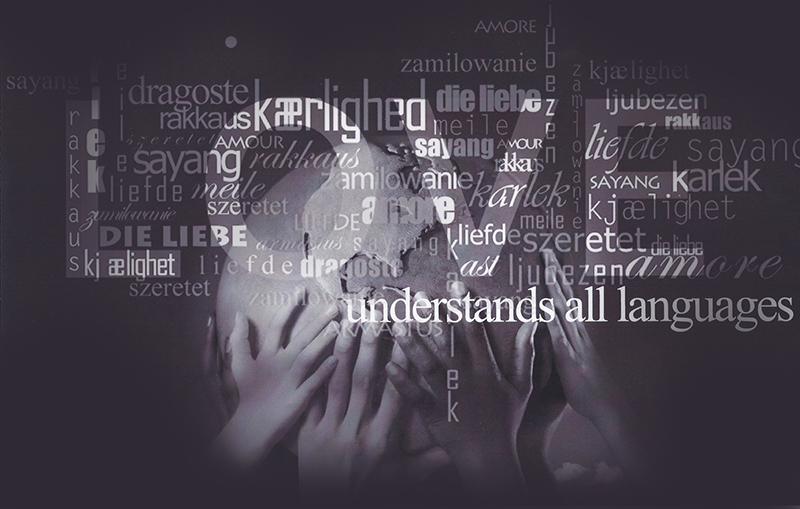
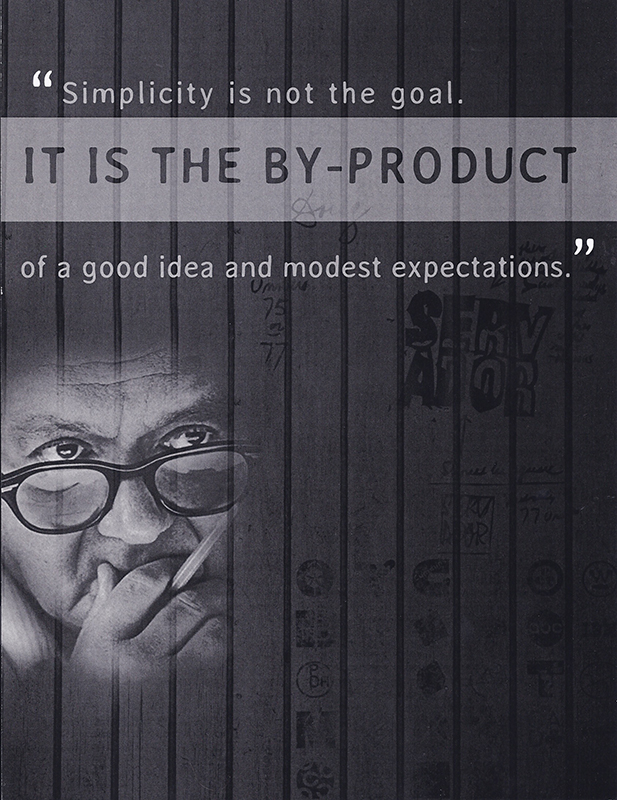
You are working for a Christian non-profit organization and you’ve been asked to create a spiritual poster montage using images and type. You can use a scripture, a quote, a thought, whatever you choose, but it must be spiritual in nature. Choose two or more images. You may use your own photos or gather some from the internet since students are allowed rights to use internet images as long as it is for a school project only. Create this montage by using a layer mask to blend images, just as you did in the activity. Remember that montages have intermingled pixels and no hard edges.
Preparation
- VIEW: 6A Sample Blog Post
- TOOLS: Adobe Photoshop
- GOOGLE IT: Search for Blended Images
- ADDITIONAL LEARNING: Free quality images at www.sxc.hu, Free high quality images at www.unsplash.com, Buy or sell images at www.istockphotos.com, Creative images at www.gettyimages.com, More images at www.flickr.com, Find and share images at www.webshots.com, Free images at www.morguefile.com, High res free images: http://www.cgtextures.com/
Instructions
1. DESIGN
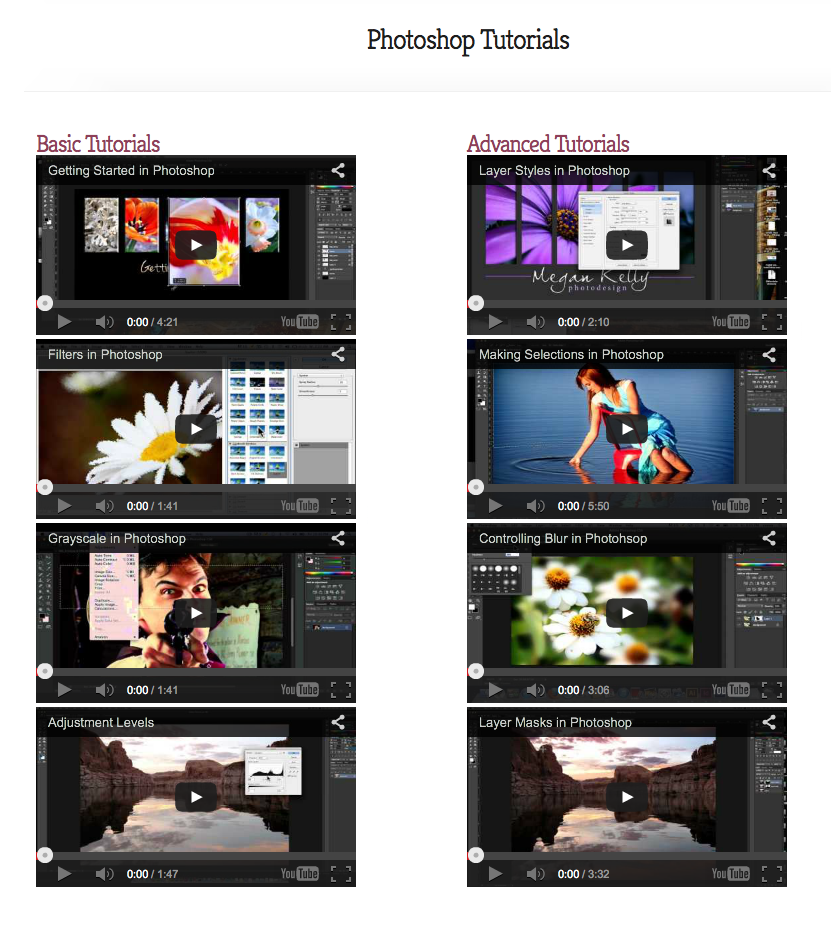
Your montage should be at least 1650×1275 pixels. Watch the instructional videos below for tips on how to perform more advanced editing effects in Adobe Photoshop. Apply a filter to one part of the design by copying the layer, then adding the filter and mask it out on part of the image. If not an artistic filter, try sharpen > Unsharp mask, or Blur > Gaussian Blur. Use good typography to add a title and body copy to your montage design. As you design, write down your steps to be included in your blog post.
2. CRITIQUE PROCESS
Find more details in Course > Critique Process Guidelines
1. Class Facebook Critique: Post jpeg or png by Tuesday 6:00am MDST
2. Client Critique: Watch Instructor critique recording on Tuesday
3. Critique Meeting: Hold a critique session before final blog post
4. Critique Report: Write a paragraph in blog post about Who-When-How-What (See Course > Critique Process)
3. SAVE PROJECT AS JPEG
1. Save the .psd with the layers intact
2. Flatten the layers (“Layers” – “Flatten Image”)
3. Choose “Image” – “Image Size”
4. Leave the “Resample” box selected
5. At the top, change the long side to 1024 pixels
6. Hit “OK.”
7. Choose “File” – “Save As.” Save with your name as follows: “JakeSpencer-6AMontage-Train.jpg”
8. Under “Format,” select “JPEG.”
9. Click “Save.”
10. Set the quality to “10 Maximum” and the “Format Options” to Baseline (“Standard”).
4. BLOG POST & SUBMISSION
View 6A Sample Blog Post as a guide.
Submission – Find more details in Course > Blog Post: Submission Instructions
1. Go to project submission and attach the SCREENSHOT of your blog post.
2. Then you will be able to insert a working HYPERLINK to your blog, in the comments box.
3. State if you “attended class” by watching the entire INTRO/DEMO VIDEO and list the KEY WORDS.
5. VIEW AND COMMENT
Finally, you will view and comment on classmates’ blog posts (Week 6 > 6B Peer Review)
Tutorials
Rubric: (30 points)
NOTE: Meeting these minimum requirements will result in a 80% or B- grade, according to the University Grading System. To receive a higher grade, students must exceed these minimum expectations.
√ Design Principles
• Message: Clear message • Audience appeal/relevance
• Proximity: Adequate white space/grouped white space/not trapped • Proximity Grouping/adequate spacing
• Contrast: Draws eye/focus • Hierarchy • Avoid conflict
• Repetition: Repetition (elements repeat) • Unity
• Alignment: Avoid centering • Placed with purpose • Creates relationships
• Good Design, Creativity and Uniqueness, and Shows Effort
√ Typography
• No more than 2 fonts • Contrasting fonts • Title size/font contrast • Appropriate leading/kerning/tracking • Easy to read • Text spacing in box • Text not too close to edges of page or other elements • Proportional text (not squished or stretched)
• Small body copy (10-12pt) • No widows • No orphans • No underlining • No hyphens • Consistent paragraph alignment/Indenting
• Appropriate caps • Correct spelling / punctuation / grammar
√ Images / Graphics / Theme
• Understandable spiritual theme • Appropriate type/images • Proportional (not squished or stretched) • Applied at least one filter to only a portion of the image • 2+ images • Demonstrates good masking skill with reduced opacity brush • True montage (not collage) effect: Gradual Blend so top image is partially transparent and intermingles with background • Quality resolution
√ Submission
• Blog Post: Project displayed on post as large thumbnail • Description • Well-written process (Programs/tools/skills/Steps taken while designing) • Critique Report • Message • Audience listed • Top thing learned • Filter listed • Colors scheme and color name • Title/Copy font & category listed • Thumbnails of images • Links to images/Source (title of site, not Google) • Add link to blog post in I-Learn and screenshot of full blog post in notes section • Class Participation & Keywords
CAUTION: your assignment is not complete until you submit in I-Learn. However, you are allowed a one-time extension, if you choose to use your mulligan. (See syllabus). We check your blog post for completion right at the deadline, so please do not add things after submitting your link, until it has been graded.