
4A: Prezi Presentation Project
Click each artboard (image) below to view related Prezi presentation.


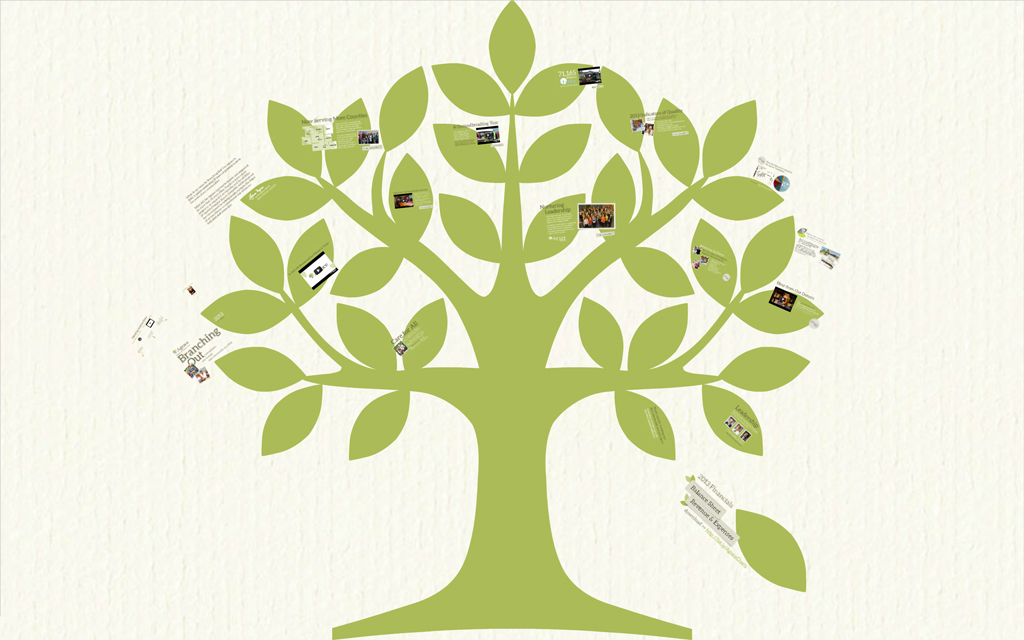
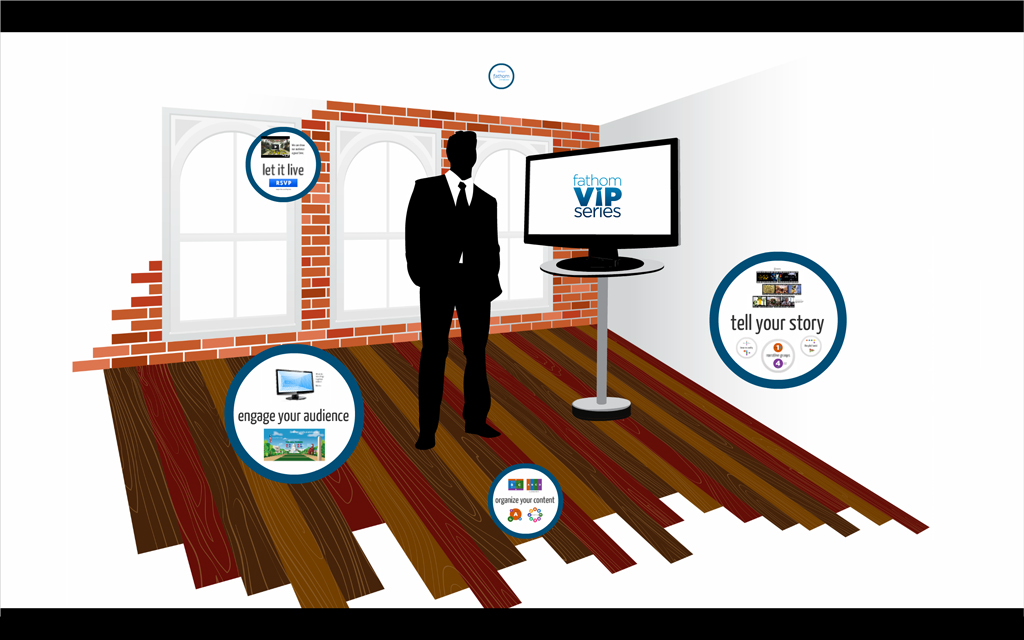
Client Situation
Preparation
- VIEW: 4A Sample Blog Post
- TOOLS: Prezi Presentation Software
- GOOGLE IT: best prezi design
Instructions
1. KEEP IT VISUAL
Create an instructional presentation of your choice with 10 – 15 frames and a catchy title. This should be a visual presentation with more graphics/images and fewer words. It should be designed to be viewed online. This is not a Prezi that would accompany a live presentation with a speaker, but still you should keep the text to a minimum on each slide. Each slide should include a graphic, image or illustration.
2. SKETCH
On a piece of paper, draw a sketch of how your background will look. This is the overall picture that the various frames and content will be added on top of. Take a photo of your sketch or scan it in to include in your blog post. Your sketch should show a background design and arrows to show how the movement will flow (circular, zigzag, linear, etc. but be careful not to have too many wild animations). You do not need to put the slide content on this sketch.
3. BACKGROUND
Now it’s time to move to the computer and start creating your background. You can upload an image to Prezi or you can use any program you are comfortable with to create a custom design. You need to create your own background design and custom Prezi. You can get ideas from existing Prezi presentations, but be careful not to copy someone else’s work. You CANNOT use any of the Prezi templates. You can use graphics, illustrations, or images in the background. It is always best to use images or illustrations of your own, but if that is not possible, you may follow the Fair Use Guidelines for using other images. Check out these royalty free sites:
http://www.textures.com/
http://www.pixabay.com/
If you would like to design something yourself then follow these steps:
1. Open your desired program and create a new file sized at 2000px by 2000px. Save it in its native file for future editing (i.e. .indd, .psd, .ai, etc).
2. Create your custom background. Be creative. It can be a photo, illustration, texture, etc. Look at current Prezi presentations and pay attention to the background they used. Keep in mind that you will be adding text and other shapes on top of your background when in Prezi.If you want text to appear in a specific place on the background (for example, inside a balloon or next to a flower) then you may want to set it up in your background in the design program you are using. Prezi uses a 3D background so it creates a parallax effect. The background and text inserted into the Prezi move at different rates and make it hard to place text in EXACTLY the spot you want. It will move around when you zoom in and out.
3. Export as a jpeg to place into your Prezi and to show in your blog post.
4. WRITE CONTENT
Write your own content. Do not include more than 20% quoted material. Keep the text to a minimum on each slide. It is better to break up long chunks of text, or shorten the quotes.
5. DESIGN YOUR PRESENTATION
Go back to Prezi and start on your presentation. Click on “Create a New Prezi” on your dashboard. You should then be in the editing mode. To insert the jpeg of your background image, click on”Customize” towards the top of the editing canvas. Now proceed to add the shapes and text that you want to include. Refer to the below tutorials on how to work in the Prezi editor.
6. CRITIQUE PROCESS
Find more details in Course > Critique Process Guidelines
1. Class Facebook Critique: Post the link by Tuesday 6:00am MDST
2. Client Critique: Watch Instructor critique recording on Tuesday
3. Critique Meeting: Hold a critique session before final blog post
4. Critique Report: Write a paragraph in blog post about Who-When-How-What (See Course > Critique Process)
7. BLOG POST & SUBMISSION
Use 4A Sample Blog Post as a guide.
Note: WordPress will not yet allow a Prezi presentation to be embedded, so follow these steps to insert a clickable screenshot that links to your Prezi. (Check how this works by clicking the Prezi screenshot in the Sample Blog Post.)
A. Insert screenshot of Prezi Presentation at the top of your blog post. Follow these steps:
1. Go to your Prezi and click the Home button to show your entire artboard.
2. Capture a screenshot of the Prezi while showing the entire artboard. Follow these “How to Screenshot instructions”
3. How to screenshot on a PC: Press PRT SCR to copy to Clipboard, then Control V to paste. Or press the Windows button and PRT SCR to copy image to Pictures folder.
4. How to screenshot on a Mac: Shift-Cmd-4 to copy image to desktop, or Shift-Opt-4 to copy to Clipboard, then Cmd V to paste.
B. Add a few paragraphs to describe the process of creating your presentation. Add a list of sources with links where you found your images or illustrations. Include a thumbnail image of your sketch and background.
Submission – Find more details in Course > Blog Post: Submission Instructions
1. Go to project submission and attach the SCREENSHOT of your blog post.
2. Then you will be able to insert a working HYPERLINK to your blog, in the comments box.
3. State if you “attended class” by watching the entire INTRO/DEMO VIDEO and list the KEY WORDS.
NOTE: Do not submit until everything is complete. Once you submit, be sure NOT to change anything on your post, until after it is graded.
7. TUTORIALS
Follow the tutorials below to create 10-15 original slides to illustrate the main points. Remember you can pause and replay the videos as needed. You may also schedule tutoring sessions as needed. Here’s a list of recommended videos that will cover the basics. Check out the playlist in the “Tutorials” section for more instructional videos:
- Prezi Tutorial: Get started in Prezi
- Prezi Tutorial: Getting to know the Prezi editor
- Prezi Tutorial: My first prezi
- Top Prezi Tips: Part 1
- Top Prezi Tips: Part 2
- Prezi Tutorial: Top Tips Part 3
- Prezi Tutorial: Using the left sidebar
- Prezi Tutorial: Setting your path
- Prezi Tutorial: Embedding your prezi
Tutorials
NOTE: To access the playlist shown above, click the icon in the top left corner of the video below.
Rubric
NOTE: Meeting the minimum requirements is “average” and constitutes an 80% or B- grade, according to the University Grading Guide. To receive a higher grade, students should excel.
√ Design Principles
• Message: Clear message • Audience appeal/relevance
• Proximity: Adequate white space/grouped white space/not trapped • Proximity Grouping/adequate spacing
• Contrast: Draws eye/focus • Hierarchy • Avoid conflict
• Repetition: Repetition (elements repeat) • Unity
• Alignment: Avoid centering • Placed with purpose • Creates relationships
• Good Design, Creativity and Uniqueness, and Shows Effort
√ Typography
• No more than 2 fonts • Contrasting fonts • Title size/font contrast • Appropriate leading/kerning/tracking • Easy to read • Text spacing in box • Text not too close to edges of page or other elements • Proportional text (not squished or stretched)
• Small body copy (10-12pt) • No widows • No orphans • No underlining • No hyphens • Consistent paragraph alignment/Indenting
• Appropriate caps • Correct spelling / punctuation / grammar
√ Layout
• 10-15 frames • Quality images • Repeating Design element • Consistency in Design • Use of the design principles • Avoid Tangents
√ Typography
• No more than 2 fonts • Contrasting fonts • Title size/font contrast • Appropriate leading/kerning/tracking • Easy to read • Text spacing in box • Text not too close to edges of page or other elements • Proportional text (not squished or stretched) • No hyphens • Consistent paragraph alignment/indenting/spacing • Appropriate caps • Correct spelling / punctuation / grammar
√ Blog Post & Submission
• Blog Post: Screenshot of Prezi placed in blog post that links to Prezi presentation • Quality JPEG of sketches; • Well-written process (Programs/tools/skills/design principles) • Critique Report • Sketches • Message • Audience listed • Top thing learned • Color scheme and color names listed • Title/Copy font & category listed • Thumbnail of original, unedited images inserted • Links to image and data sources • Clickable hyperlink to blog post submitted • Screenshot of completed full blog post • Class Participation & Keywords • Video of project embedded
CAUTION: your assignment is not complete until you submit in I-Learn. However, you are allowed a one-time extension, if you choose to use your mulligan. (See syllabus). We check your blog post for completion right at the deadline, so please do not add things after submitting your link, until it has been graded.