
4C: Photography Activity
Overview
Thanks to the convenience of digital cameras, most people can easily acquire basic photography skills. The three most important principles are L-F-C: Light, Focus, and Composition. Beginners often take a lot of dark, blurry photos with a centered subject. No more! Watch the below Prezi and “Basic Edits” video in the “Tutorials” section below to get started.
ACTIVITY EXAMPLES:
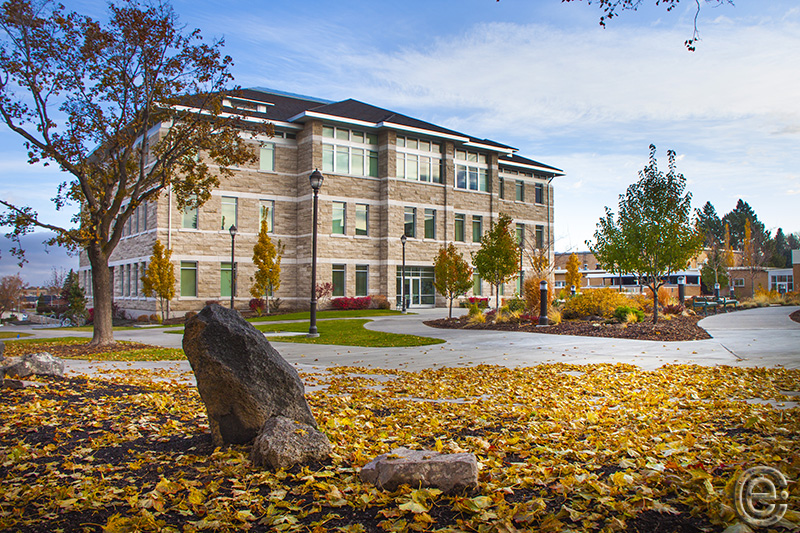
LIGHT 1: Outside

LIGHT 2: Indside
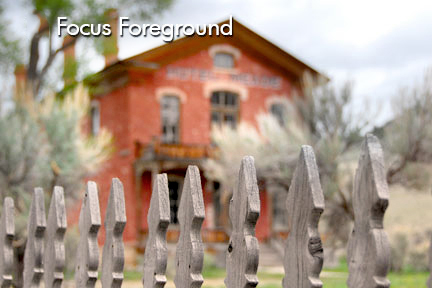
FOCUS 1: Foreground
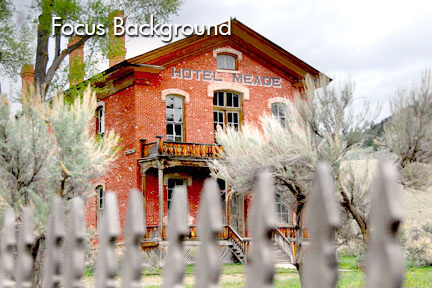
FOCUS 2: Background

COMPOSITION 1: Thirds
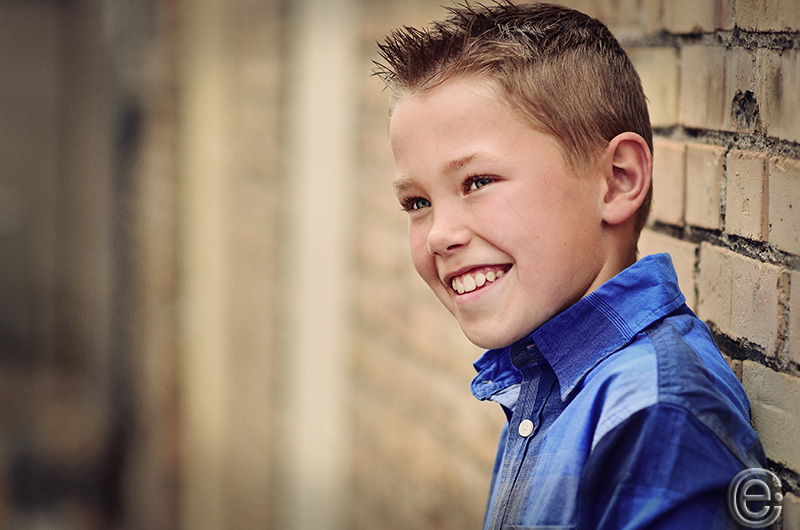
COMPOSITION 2: Lead Room
Preparation
READING: Read the photodesign project guide so you will understand the project.
ADDITIONAL LEARNING: More Photoshop Video Tutorials
Instructions
IMPORTANT: You must create new images for this assignment that were taken after you completed Project 4A.
1. WATCH THE PREZI AND BASIC PHOTOSHOP VIDEO TUTORIAL (below)
Your success with this activity depends on those presentations!
2. USE A DIGITAL CAMERA TO TAKE SIX PHOTOS
You may use your own digital camera, borrow one, or, if you are on campus, you may check one out from the circulation desk on the first floor of the library.
- FIND THE LIGHT: Take two different photos: one OUTSIDE and one INSIDE. For the OUTSIDE photo, you must include sky! Look for amazing light during the first two hours and last two hours of the day. Follow the tips in the Prezi tutorial (left) about retaining detail in the sky and achieving good exposure. For the INSIDE photo, get next to a window or use a lamp or other light. If you are more advanced, try a flash. If you want a challenge, try this Light Painting Tutorial.
- CONTROL THE FOCUS: Take two versions of the very same photo: One with the FOREGROUND IN FOCUS and one with the BACKGROUND IN FOCUS (see the Prezi tutorial below). Setup a shot that has something very close in the foreground and something very far in the background. Now, go to the Menu on your camera and look for Metering Mode (or something similar), then choose Spot Metering. Next, place the center of the frame (where the spot is in the viewfinder) on your subject. Hold the shutter halfway to lock the focus, then reframe the shot and finish pressing the shutter. The subject will be in sharp focus composed correctly, at the side of the frame.
- PLAN THE COMPOSITION: Take two different photos: one with SUBJECT ON ONE-THIRD GRID LINES and strong leading lines and one with LEAD ROOM (“lead room” is where the subject is on the side and facing into the frame). Watch the Prezi tutorial for more information.
3. ADD THE 4 BASIC EDITS
Follow the video tutorial below and use Photoshop to make the following edits: Levels – Vibrance/Saturation – Selective Color – Sharpen Tool. After editing, save the full-size .psd document with all the layers intact should you want to make changes later.
4. SIZE IMAGES
Flatten the layers by going to “Layer – Flatten Image.” Next, go to “Image – Image Size” and with “Resample” checked., change the long side of your image to either 800 or 1024 pixels.
5. FILE NAME
Save the 6 images with your name and the file name. Example: JakeSpencer-01-Light-Outside.jpg…etc.
6. BLOG POST & SUBMISSION
Use 4C Sample Blog Post as a guide. .
Upload all 6 images to your blog IN THE ORDER LISTED IN THE SAMPLE BLOG POST. Choose the large (not fullsize) option to display the photos in your blog post. Before inserting the images, add a label in the caption (Example: Light 1: Outside). Then add two paragraphs of 3+ sentences to explain your photography process.
Submit a screenshot of your blog, and paste a working hyperlink to your blog post (not the blog homepage or log-in page) and post in the submission comments.