
9A: HTML & CSS Coding Project
Client Situation
A potential employer requests a web page to review. They’d like to see one of your logo designs with a description of the design process as well. Use your logo from the Business Identity Project to showcase and create a webpage layout (See examples above) using what you know about HTML and CSS.
Preparation
- VIEW: 9A Sample Blog Post
- TOOLS: Notebook++ for PC or TextWrangler for Mac
- GOOGLE IT: CSS can help you create any design you want based on your HTML structure. Google as needed through this project.
- RESOURCES: CodeAcademy, W3Schools, CSS Zen Garden, HTML Validator, CSS Validator
- ADDITIONAL LEARNING: Web-safe CSS font families, A list of tutorials on CSS – www.w3schools.com, Find and use hex colors to match your logo with this video tutorial.
Instructions
A. HTML
You will add HTML tags to a text file. Follow these steps:
- DOWNLOAD: the text template file here (If nothing happens, then check your Downloads folder because it probably downloaded it in the background without you knowing). Then unzip the folder and open the HTML file using Notepad++ for PC or TextWrangler for Mac. Change the file name to be 9AFirstLast.html” but with your first and last name.
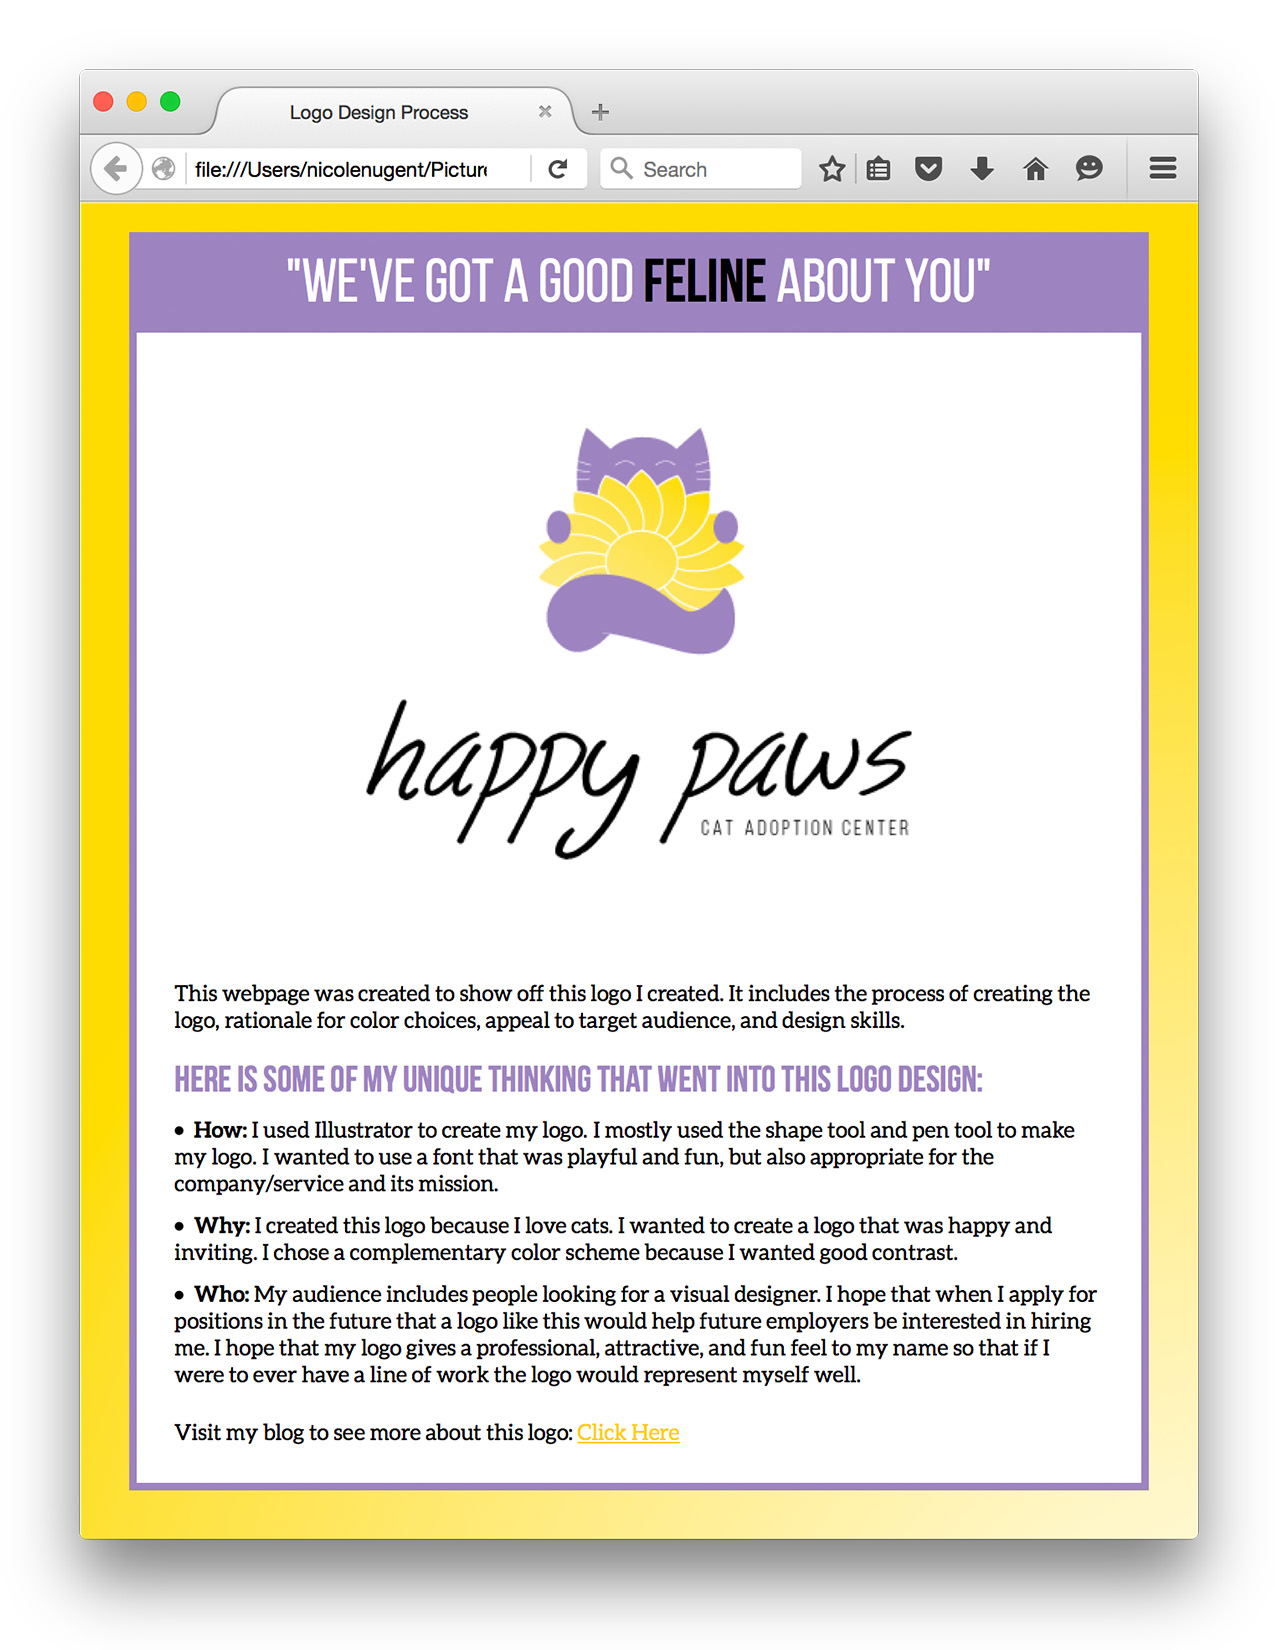
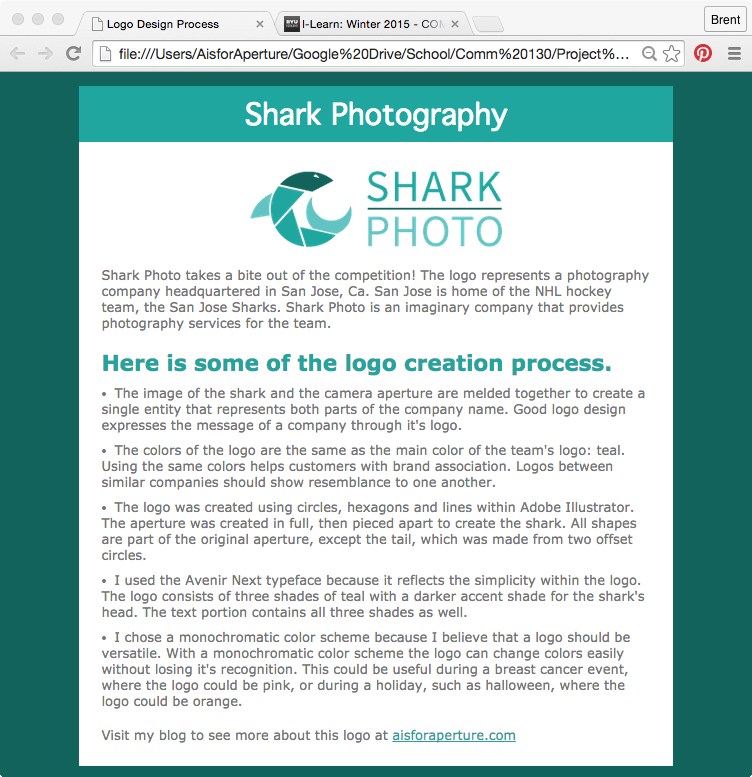
- RESIZE LOGO: Save your logo from the Business Identity project as “logo.png” and place it in the same folder as the logo-showcase.html file. Your logo should be resized at 300 pixels on the long side. Size the logo so the longest side is 300 – 500 pixels with this video tutorial.
- CONTENT: Use a minimum of 200 words. Include rationale for colors, appeal to target audience, design skills, etc. The text template file will guide you.
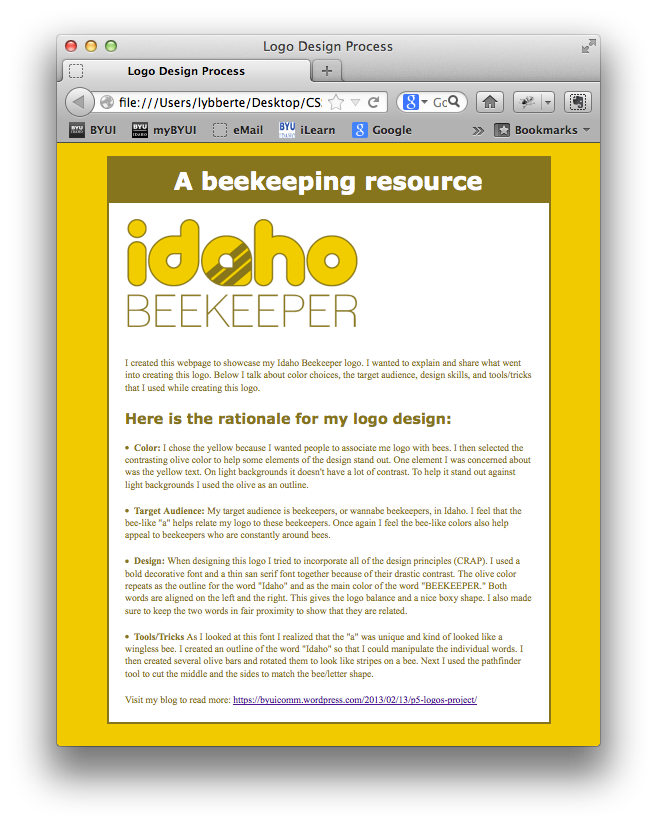
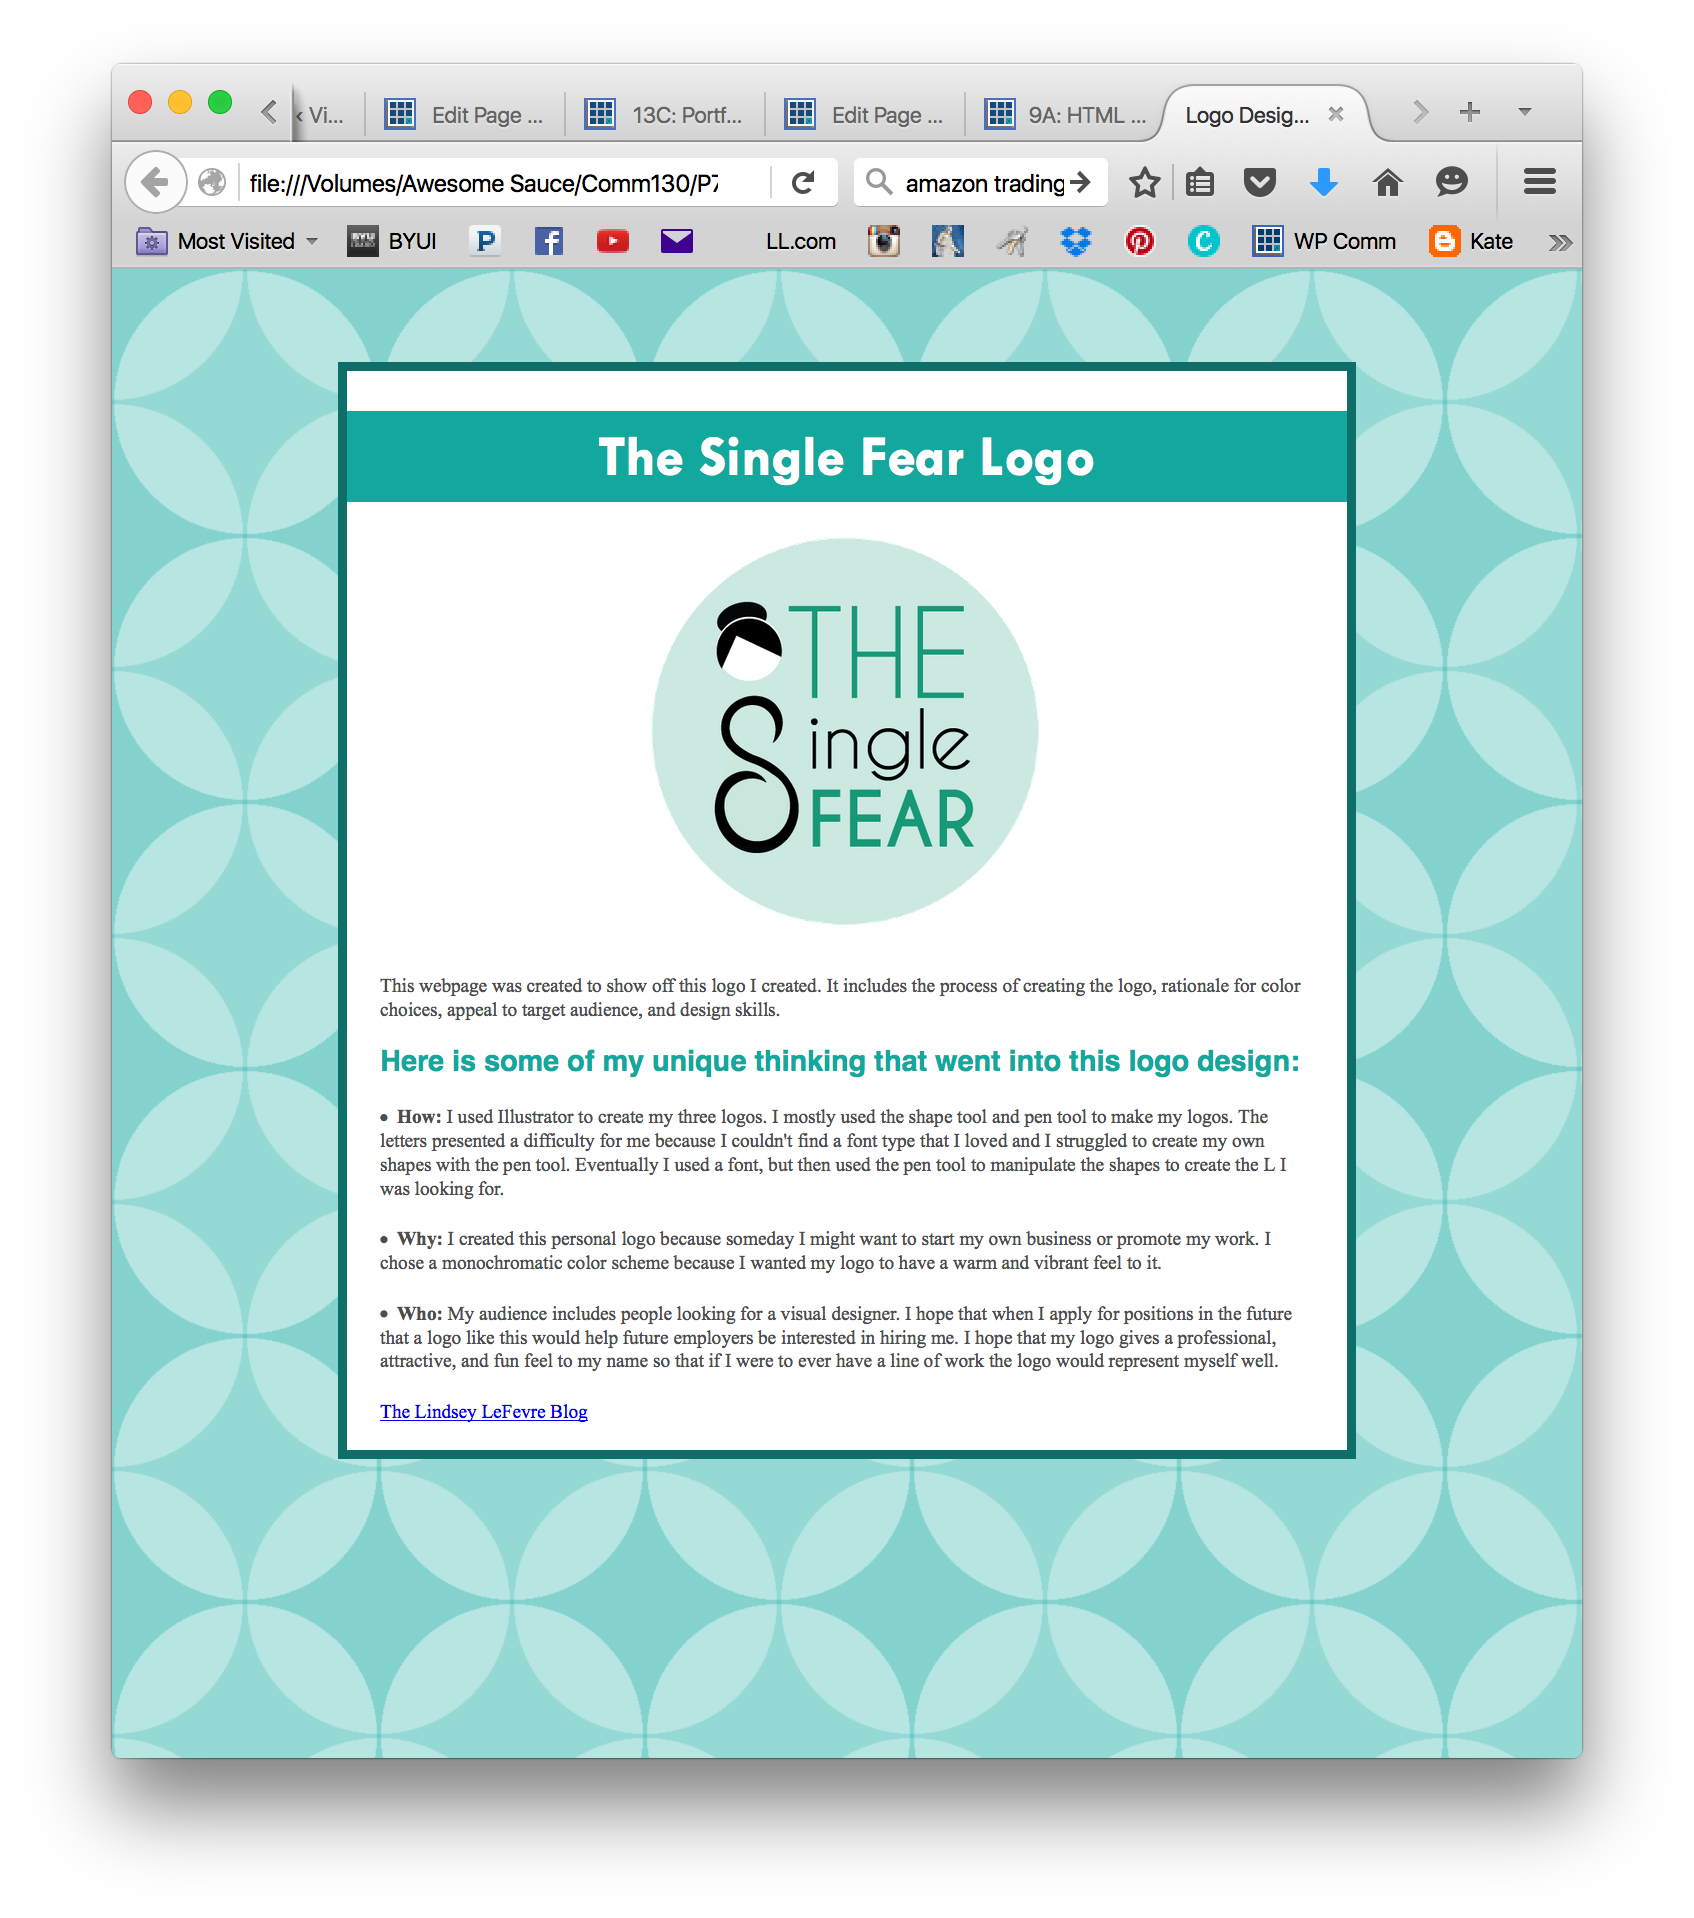
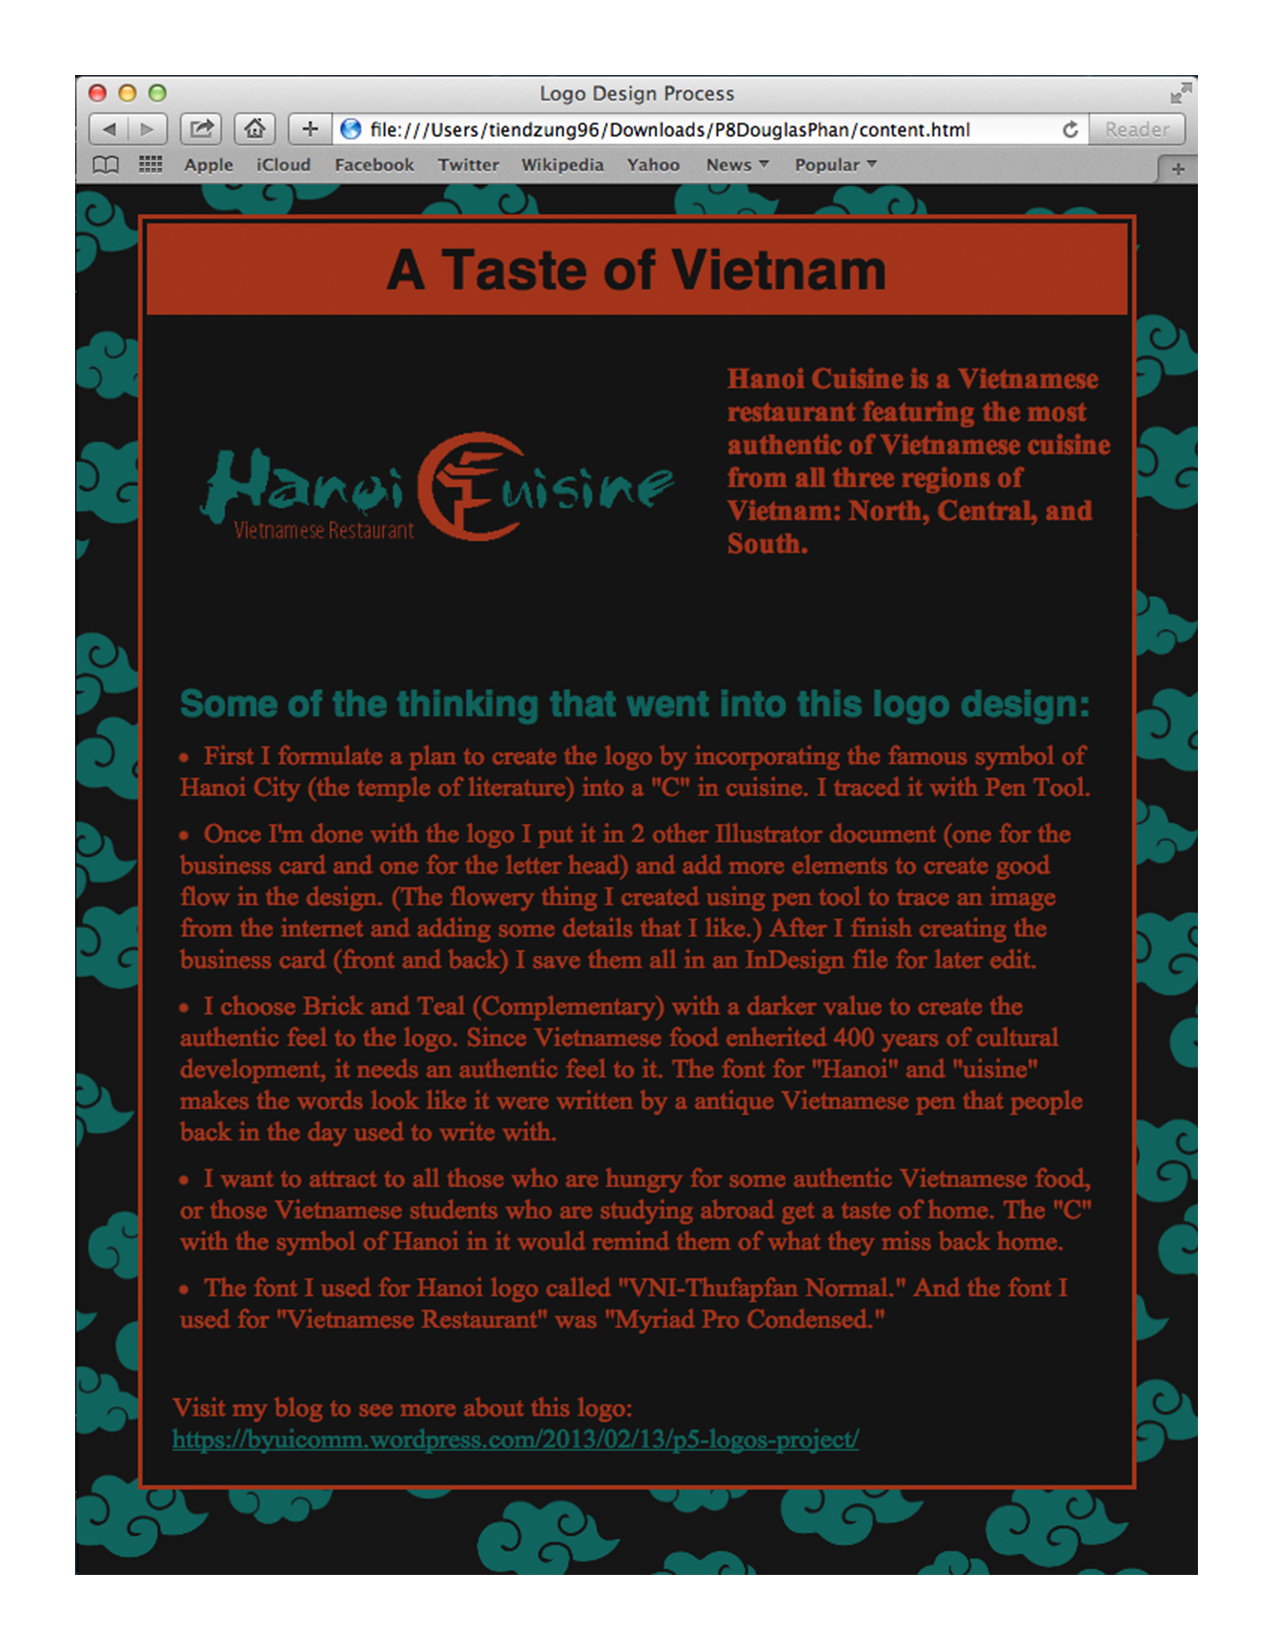
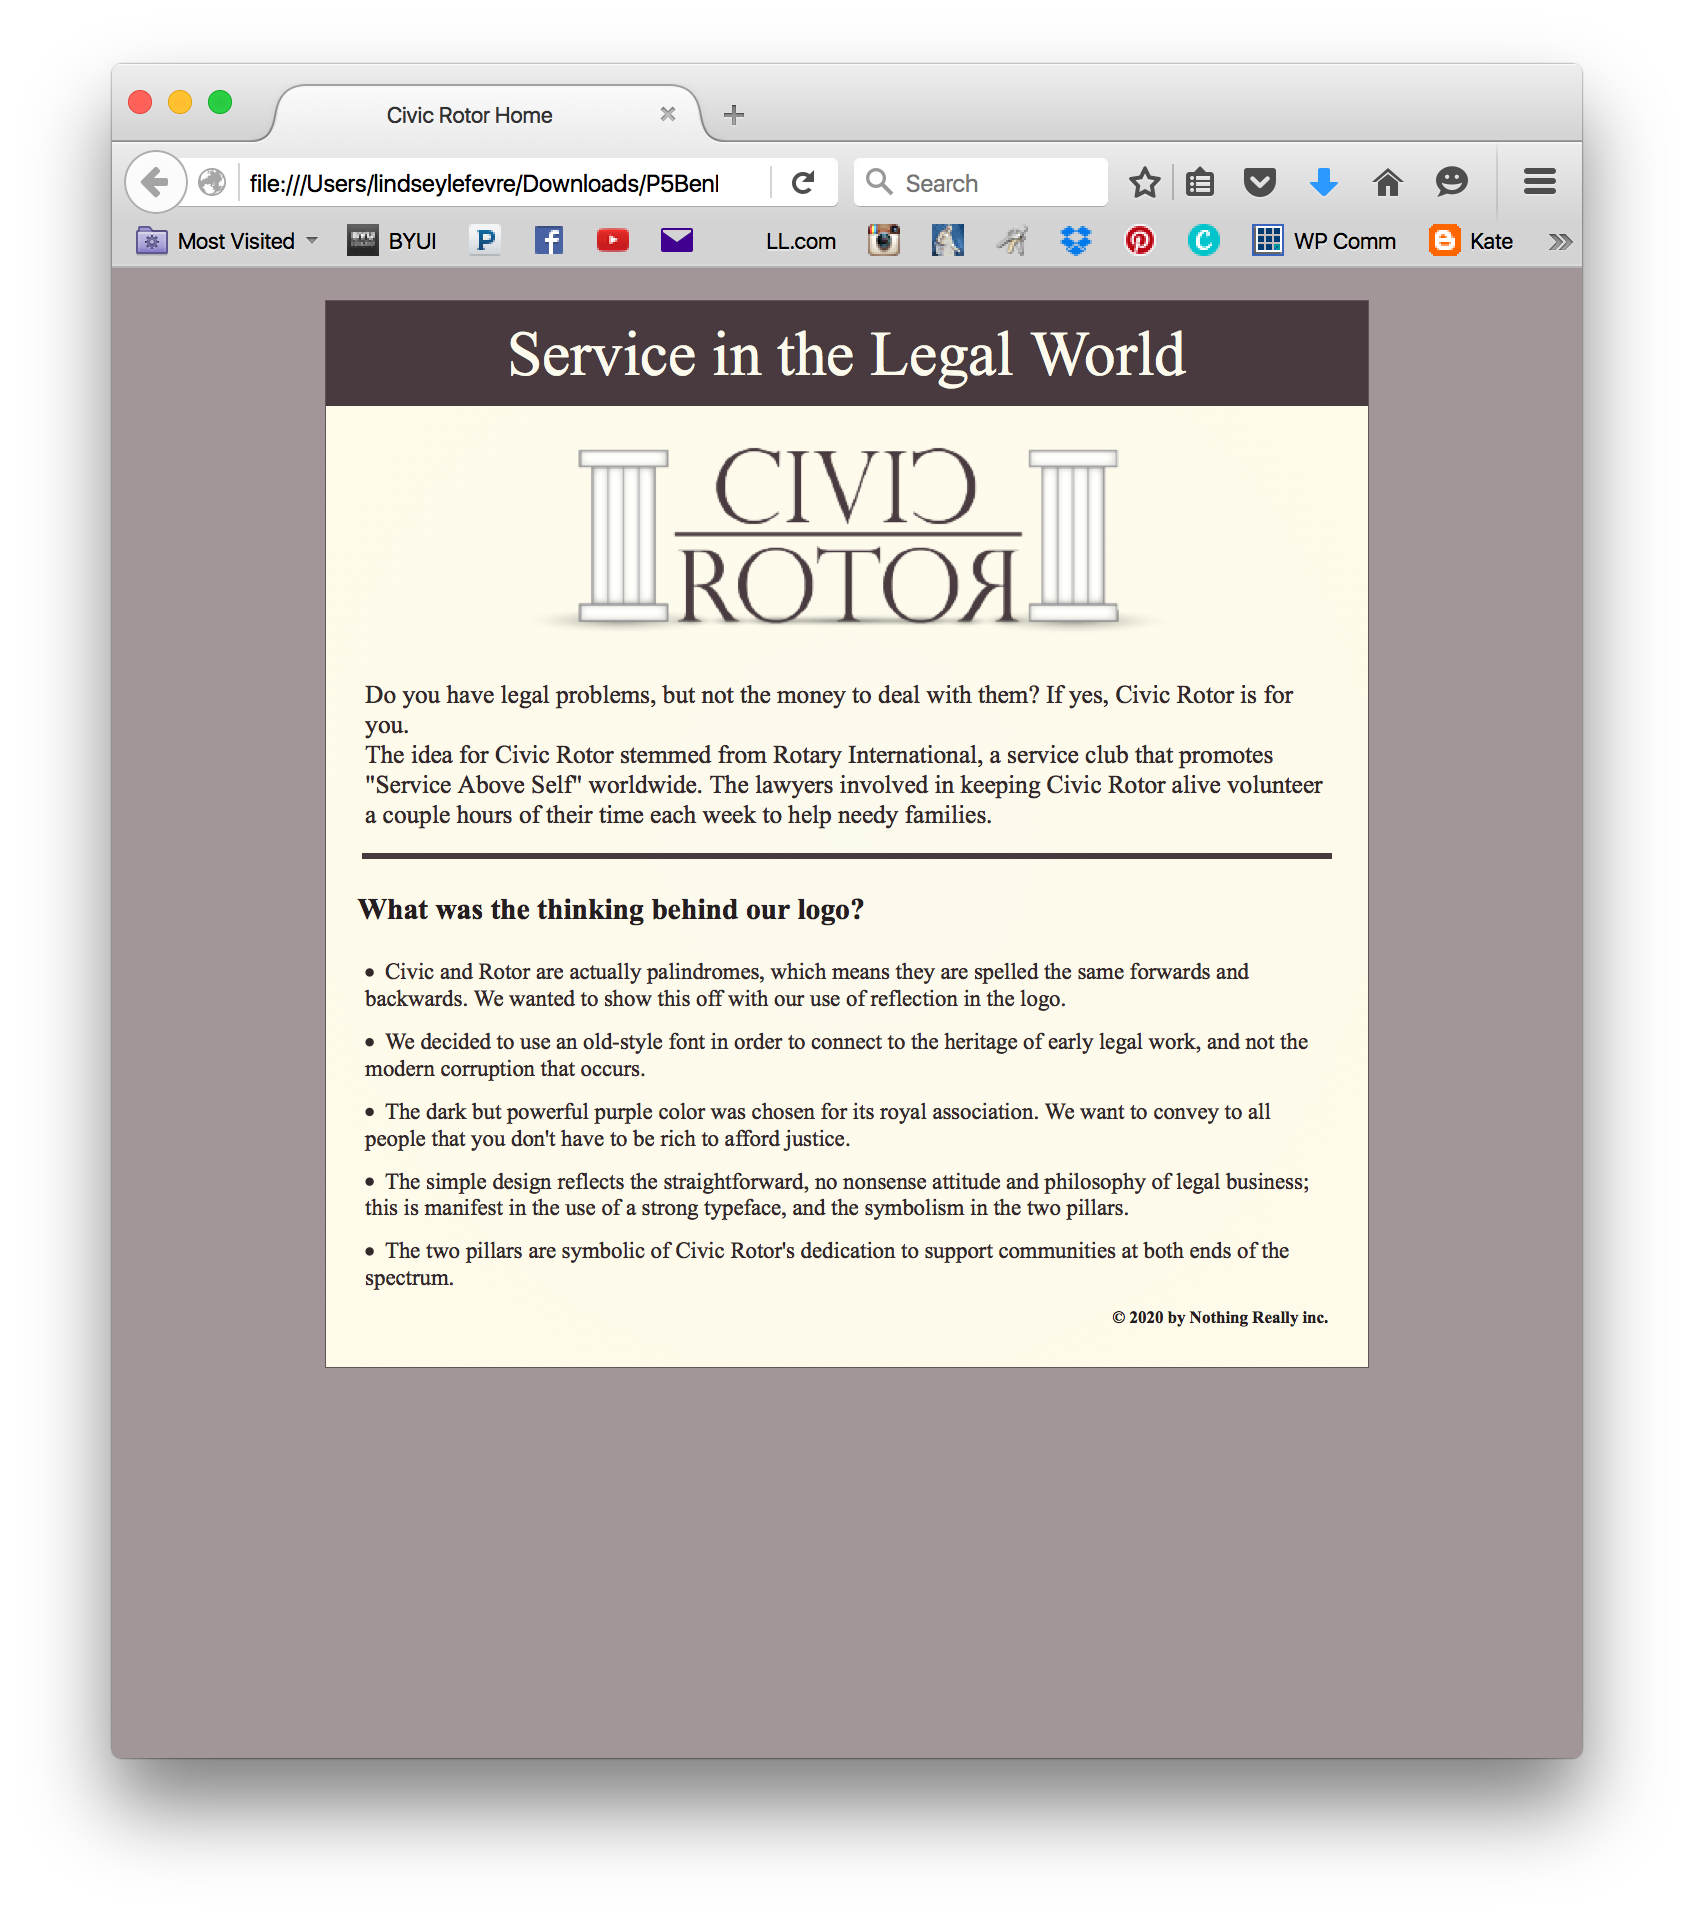
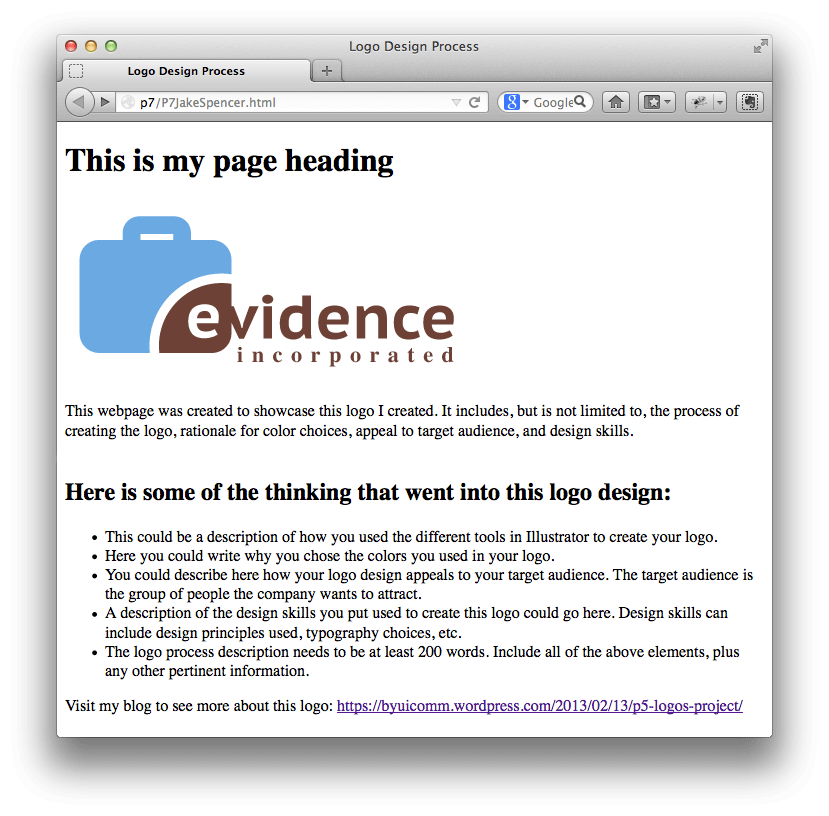
- HTML TAGS: Add HTML tags to the text file using TextWrangler or Notepad++ to make the HTML look like the example below but with your logo instead of the “Evidence” logo. Ensure that all required tags are present and make sure to INDENT your tags: Doctype (provided), html, head, title, meta charset (provided), body, h1, h2, p, ol or ul (with li tags), img, br, and a link to blog. (Click example below to enlarge)
B. CSS
You will customize the provided CSS file to style your HTML file. Follow these steps:
- DOWNLOAD: the CSS template file here (If nothing happens, then check your Downloads folder because it probably downloaded it in the background without you knowing). Then unzip the folder and open the CSS file using Notepad++ for PC or TextWrangler for Mac.
- CONNECT HTML & CSS: In your HTML file, insert the following code underneath the <title></title> tags (inside the <head>):
<link rel="stylesheet" type="text/css" href="demo.css">This will connect the CSS file to the HTML file. Make sure that the HTML & CSS files are in the same project folder. Open the HTML file in a web browser to see if the styling in the CSS file is being applied to the HTML document.
- CUSTOMIZE CSS: the provided CSS to format the HTML to complement the logo design. Change at least the following: The h1 text color & h1 background color, font colors for the paragraphs & list items, the background color, font families and add at least one css comment. Identify hex colors to match logo, using Photoshop color picker.
- COLOR PICK: Open your logo file in Photoshop. Double-click on the foreground color square at the bottom of the in the tools pallet on the left side to open the color picker. Hover over the color in the logo and click. Then, note the “hex color” at the bottom of the color picker window. (see below) Do the same with the olive color in the logo.
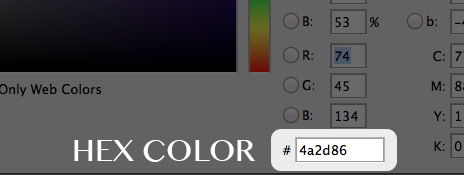
- COLOR PICK: Open your logo file in Photoshop. Double-click on the foreground color square at the bottom of the in the tools pallet on the left side to open the color picker. Hover over the color in the logo and click. Then, note the “hex color” at the bottom of the color picker window. (see below) Do the same with the olive color in the logo.
C. VALIDATE HTML & CSS
Follow these steps to validate your HTML:
1. Go to the HTML validator.
2. Press “Browse”
3. Find and select your .html file (From your project folder)
4. Press “Check”
5. You should receive the message “This document was successfully checked as HTML5!” If not, fix your document errors and try validating again. Always start by fixing the first error. Then re-validate the document because a single mistake in your HTML document will trigger multiple errors in the validator.
Follow these steps to validate your CSS:
1. Go to the CSS validator.
2. Press “Browse”
3. Find and select your .css file (From your project folder)
4. Press “Check”
5. You should receive the message “Congratulations! No Error Found.” If not, fix your document errors and try validating again. Always start by fixing the first error. Then re-validate the document because a single mistake in your CSS document will trigger multiple errors in the validator.
D. TAKE A SCREEN SHOT:
Open the HTML page in a web browser and capture a quality screen shot following this tutorial.
E. CHECK FOLDER and ZIP
Ensure that your project folder is named “9AFirstLast” (example: (9AJakeSpencer). Check that this folder contains the following: .html file, .css file, .png logo file, and formatted screenshot. Right-click the folder and choose “compress” on Mac and “zip” on PC.
F. BLOG POST & SUBMISSION
Use 9A Sample Blog Post as a guide.
Submission – Find more details in Course > Blog Post: Submission Instructions
1. Go to project submission and attach the ZIP FOLDER you created in the last step.
2. Then you will be able to insert a working HYPERLINK to your blog, in the comments box.
3. State if you “attended class” by watching the entire INTRO/DEMO VIDEO and list the KEY WORDS.
NOTE: Do not submit until everything is complete. Once you submit, be sure NOT to change anything on your post, until after it is graded.
Tutorials
Rubric: (30 points)
NOTE: Meeting these minimum requirements will result in a 80% or B- grade, according to the University Grading System. To receive a higher grade, students must exceed these minimum expectations.
√ Design Principles
• Message: Clear message • Audience appeal/relevance
• Proximity: Adequate white space/grouped white space/not trapped • Proximity Grouping/adequate spacing
• Contrast: Draws eye/focus • Hierarchy • Avoid conflict
• Repetition: Repetition (elements repeat) • Unity
• Alignment: Avoid centering • Placed with purpose • Creates relationships
• Good Design, Creativity and Uniqueness, and Shows Effort
√ Typography
• No more than 2 fonts • Contrasting fonts work with logo • Title size/font contrast • Appropriate leading/kerning/tracking • Easy to read • Text spacing in box • Text not too close to edges of page or other elements
• Small body copy (10-12pt) • No widows (on screenshot) • No orphans (on screenshot) • No underlining • No hyphens • Consistent paragraph alignment/indenting/spacing • Proportional text (not squished or stretched)
• Appropriate caps • Correct spelling/punctuation/grammar
√ Logo
• Logo created this semester • Sized 300px – 500 px long side • PNG file type • Overall quality (not pixelated)
√ HTML / CSS / Indenting
• HTML: Doctype • html • head • title • meta charset (provided) • body • body tags included in correct order: h1, h2, p, ol, ul, (with li tags), img, br and a (link to blog tag.) • Proper indenting • HTML validates
• CSS: CSS properly linked to HTML • Hex colors match logo (use eyedropper) • h1 text color & h1 background color • Font colors for paragraphs and listed items • Background color • Font families • At least one CSS comment of your own • CSS validates
√ Process
• 200 words min. • Process of creating logo • Rationale for color choices • Appeal to target audience • Design skills
√ Blog Post & Submission
• Blog Post/I-Learn: Project displayed on post as large thumbnail • Description • Well-written process (Programs/tools/skills) • Critique Report • Message • Audience listed • Top thing learned • Colors swatches and color hex(s) • Title/Copy font families & category listed • Changes made to CSS • Word Count • Add link to blog post in I-Learn • Screenshot of completed full blog post • Add zipped folder in I-Learn • Class Participation & Keywords
CAUTION: your assignment is not complete until you submit in I-Learn. However, you are allowed a one-time extension, if you choose to use your mulligan. (See syllabus). We check your blog post for completion right at the deadline, so please do not add things after submitting your link, until it has been graded.