
Blog Post & Submission Process
Blog Post
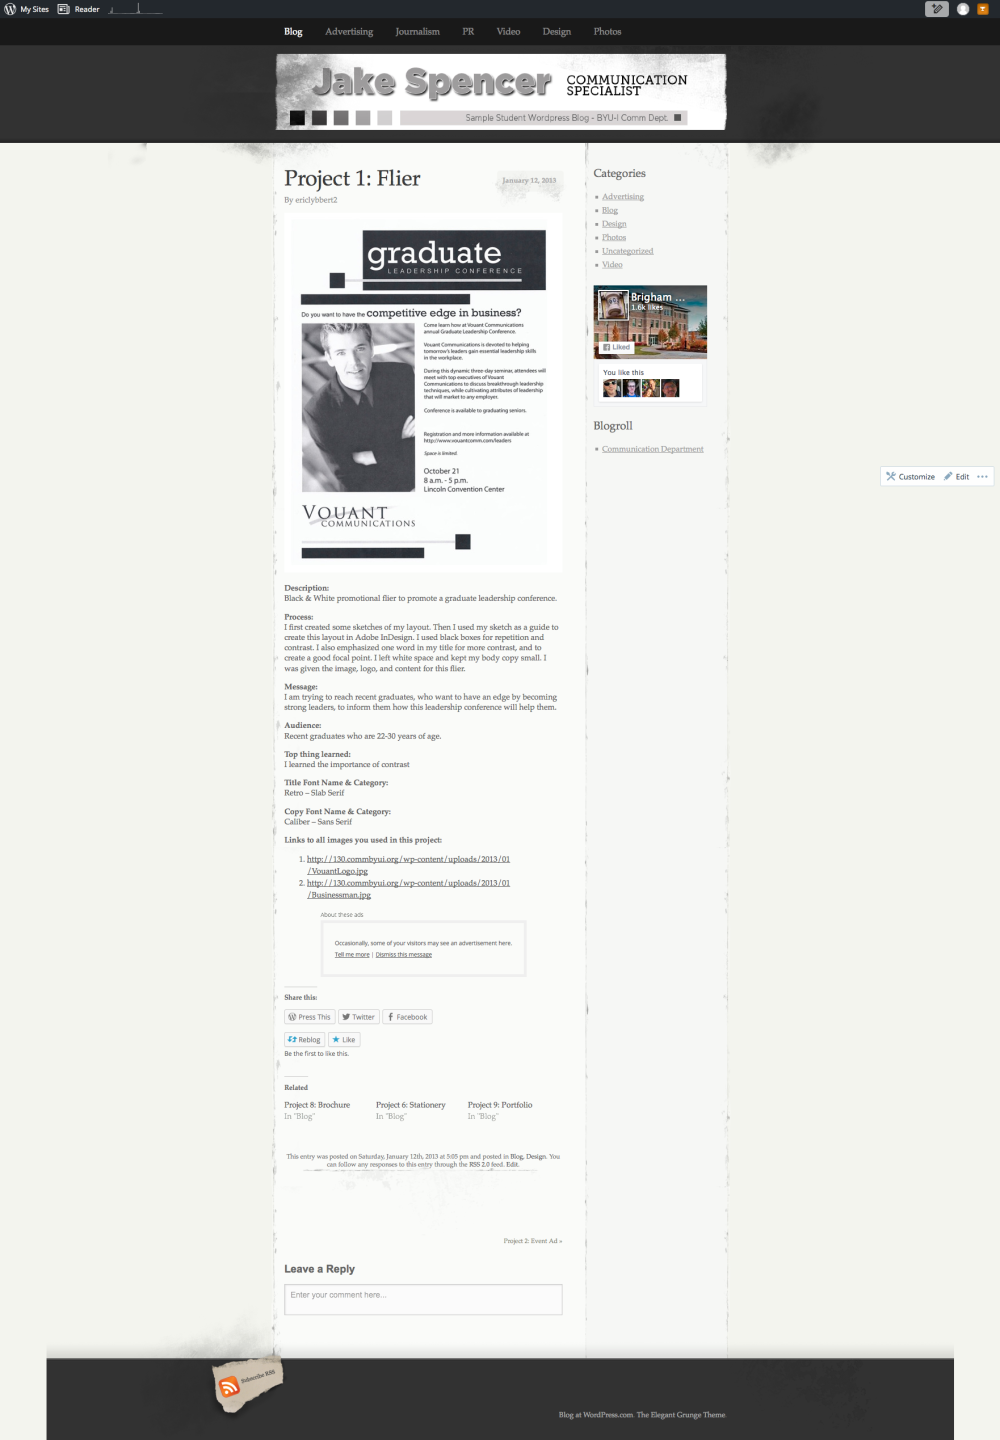
Follow these instructions to create a blog post for each project. View a sample blog post here. Any additional blog post items will be included on the project page under “Blog Post & Submission.”
• Create a blog POST (not page) on your WordPress blog for each project.
• Upload your project JPG and insert it at Large size at the top of your post. (go to Course > Blog Post: Image Sizing Instructions)
• Copy & paste the following information into your post and use good writing skills to fill in the spaces after each colon.
1. Description:
2. Process (Programs, Tools, Skills, Design principles):
3. Critique Report:
3. Message:
4. Audience:
5. Top Thing Learned:
6. Color scheme and color names:
7. Title Font Name & Category:
8. Copy Font Name & Category:
9. Thumbnails of any original, unedited image used in the project:
10. Source of each image (website name and hyper link):
11. Embed video of printed project
5. SUBMISSION: Do not submit until everything is complete. Once you submit, be sure NOT to change anything on your post, until after it is graded.
LEARN THE CORRECT SUBMISSION PROCESS
WHAT YOU WILL SUBMIT:
CAUTION: Start early to make sure you have time to submit everything before the deadline. If you miss the deadline, your instructor cannot accept work via email. The Comm Dept policy will not allow your instructor to accept late work. You have a one-time Mulligan option, that gives you two extra days. Go to Course > Mulligan for more information.
PROJECT SUBMISSION:
1. Go to project submission.
2. Attach the SCREENSHOT of your blog post.
3. Then you will be able to insert a working HYPERLINK to your blog.
4. State if you “attended class” by watching the entire INTRO/DEMO VIDEO and list the KEY WORDS.
NOTE: Be sure you receive notification that your submission was successful.
HOW YOU WILL SUBMIT:
1. HOW TO ATTACH A SCREENSHOT OF ENTIRE BLOG POST:
B. Or follow these WRITTEN instructions:
CAPTURE A COMPLETE SCREENSHOT OF YOUR ENTIRE BLOG POST:
Once you set up this Firefox screenshot function, you won’t have to do it again on that computer.
1. Open your blog post in Firefox, Right click anywhere on the page and choose “Inspect Element.”
2. In the lower right corner, Select the Gear icon (Toolbox Options)
3. Move your cursor to the lower left area of your screen and scroll to the bottom.
4. Check the option: “Take a fullpage screenshot”
5. This will insert a Camera Icon to the left of the Gear Icon you selected before. Click the Camera Icon and it will take a screenshot of your entire blog post and place it in your download folder.
6. Rename your screenshot to match this Example: “3AJakeSpencer-Screenshot.png”
7. Open the assignment submission in I-Learn and browse to your screenshot file to ATTACH it to the submission. (Or drag and drop the image file.)
NOTE: Your screenshot should show the entire blog post, like this example (click to enlarge):
2. Copy the URL in your browser window (web address at the top of the web browser page).
How to Screenshot
How to screenshot on a PC: Press PRT SCR to copy to Clipboard, then Control V to paste. Or press the Windows button and PRT SCR to copy image to Pictures folder.
How to screenshot on a Mac: Shift-Cmd-4 to copy image to desktop, or Shift-Opt-4 to copy to Clipboard, then Cmd V to paste.