
13A: Portfolio Project

Client Situation
A portfolio is a professional collection of your design projects. It shows your skills, experience, and personality. You will create organizational pages using Adobe InDesign and a PDF version of this portfolio to post on your WordPress blog. The final portfolio is worth 50 points and is graded in three parts.
Preparation
- VIEW: 13A Sample Blog Post
PART 1 – Design & Organization: 30 points
• Design 8.5 x 11 inch pages for your portfolio pages.
• Create an attractive color cover. Include your name and the word “portfolio” on the cover.
• Design a title page with contact information.
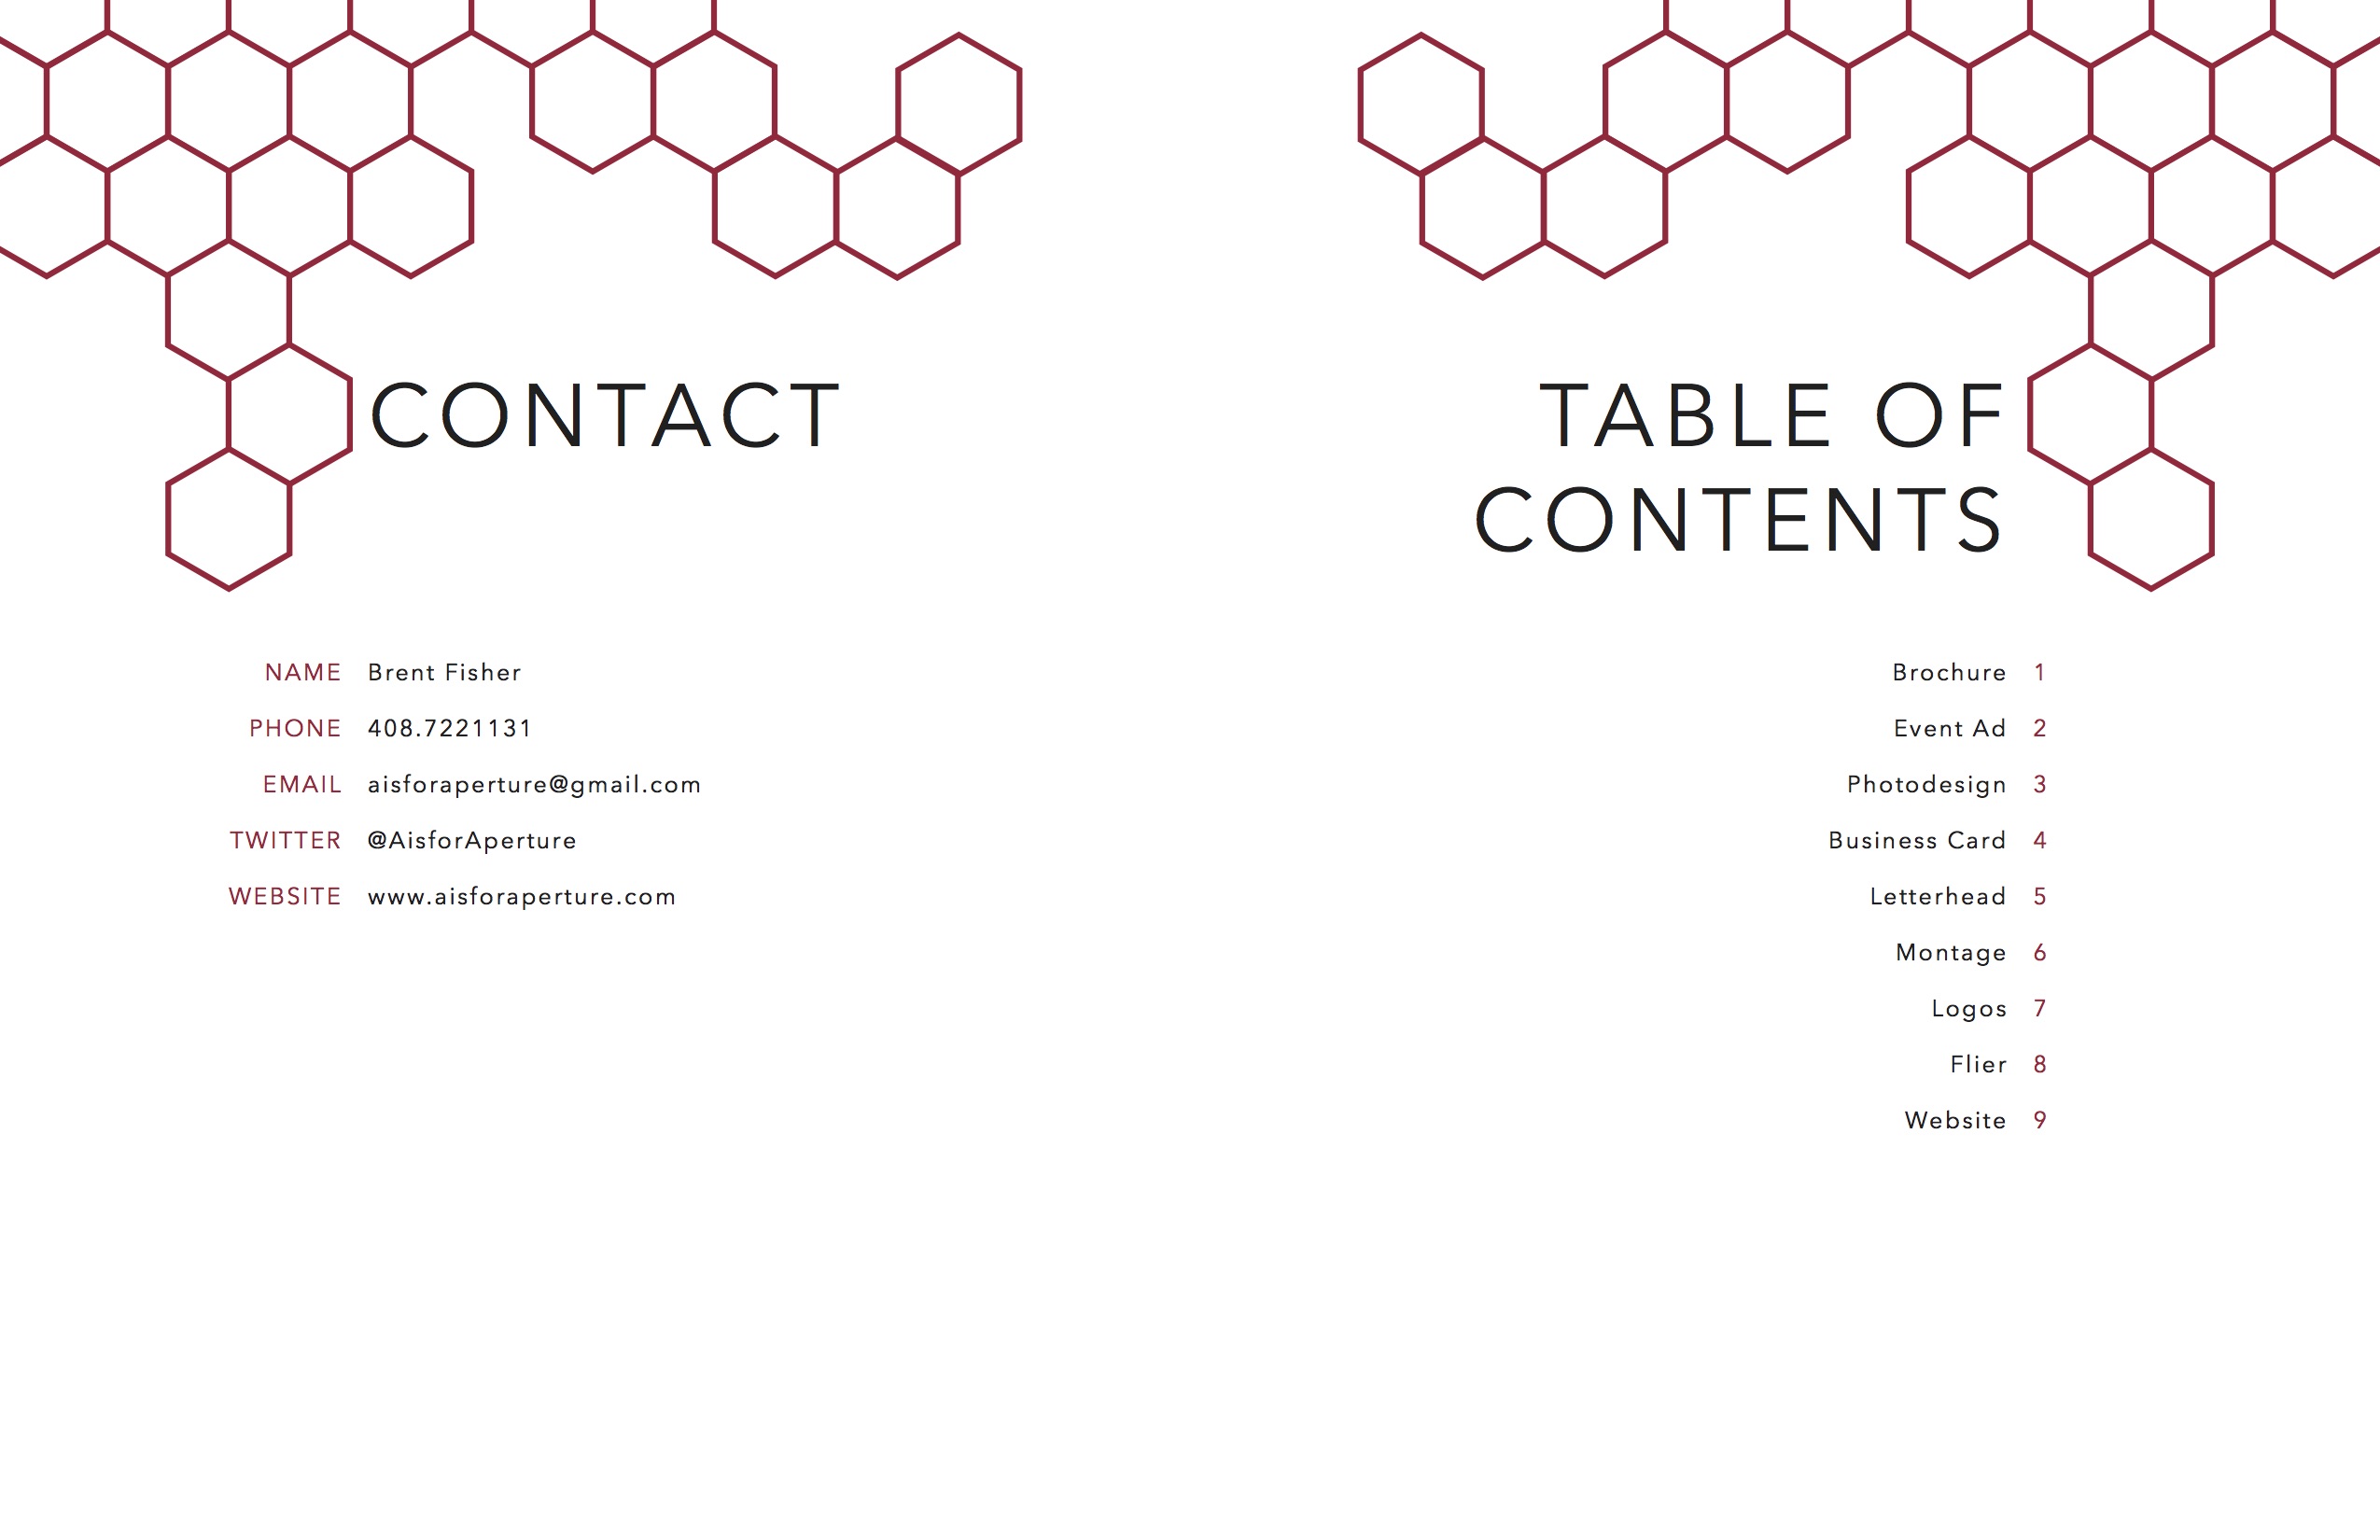
• Create a table of contents (put your best projects first).
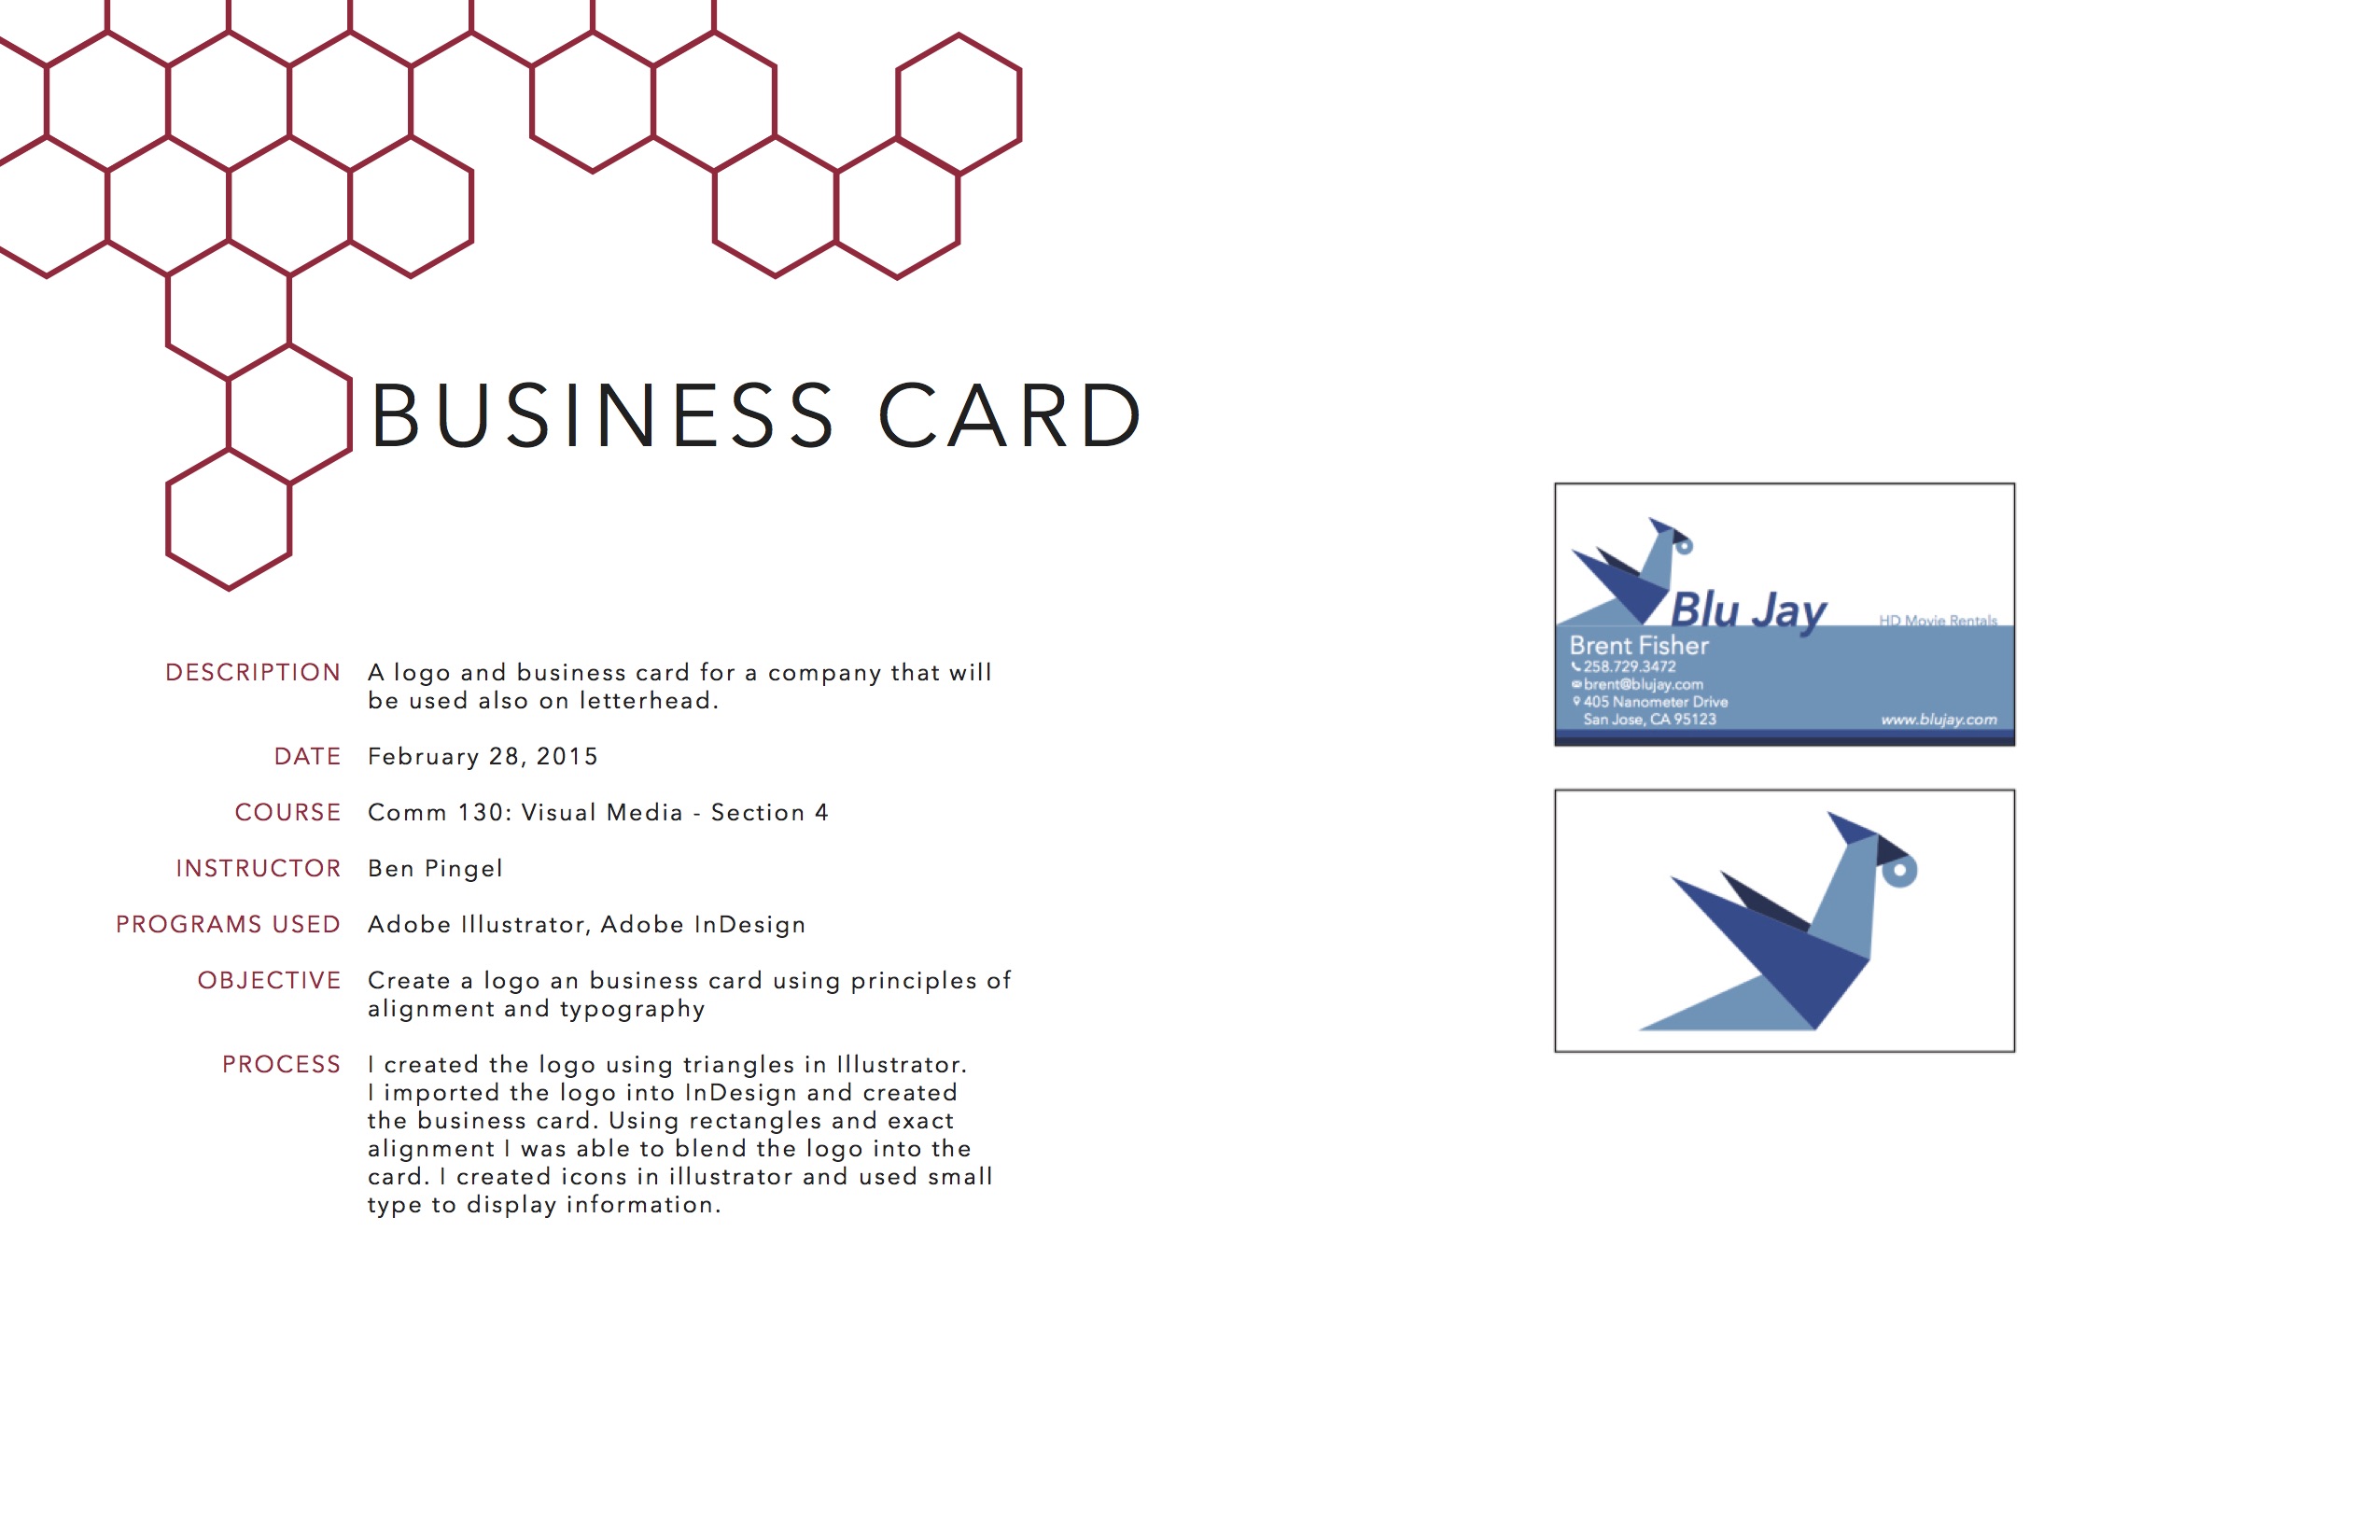
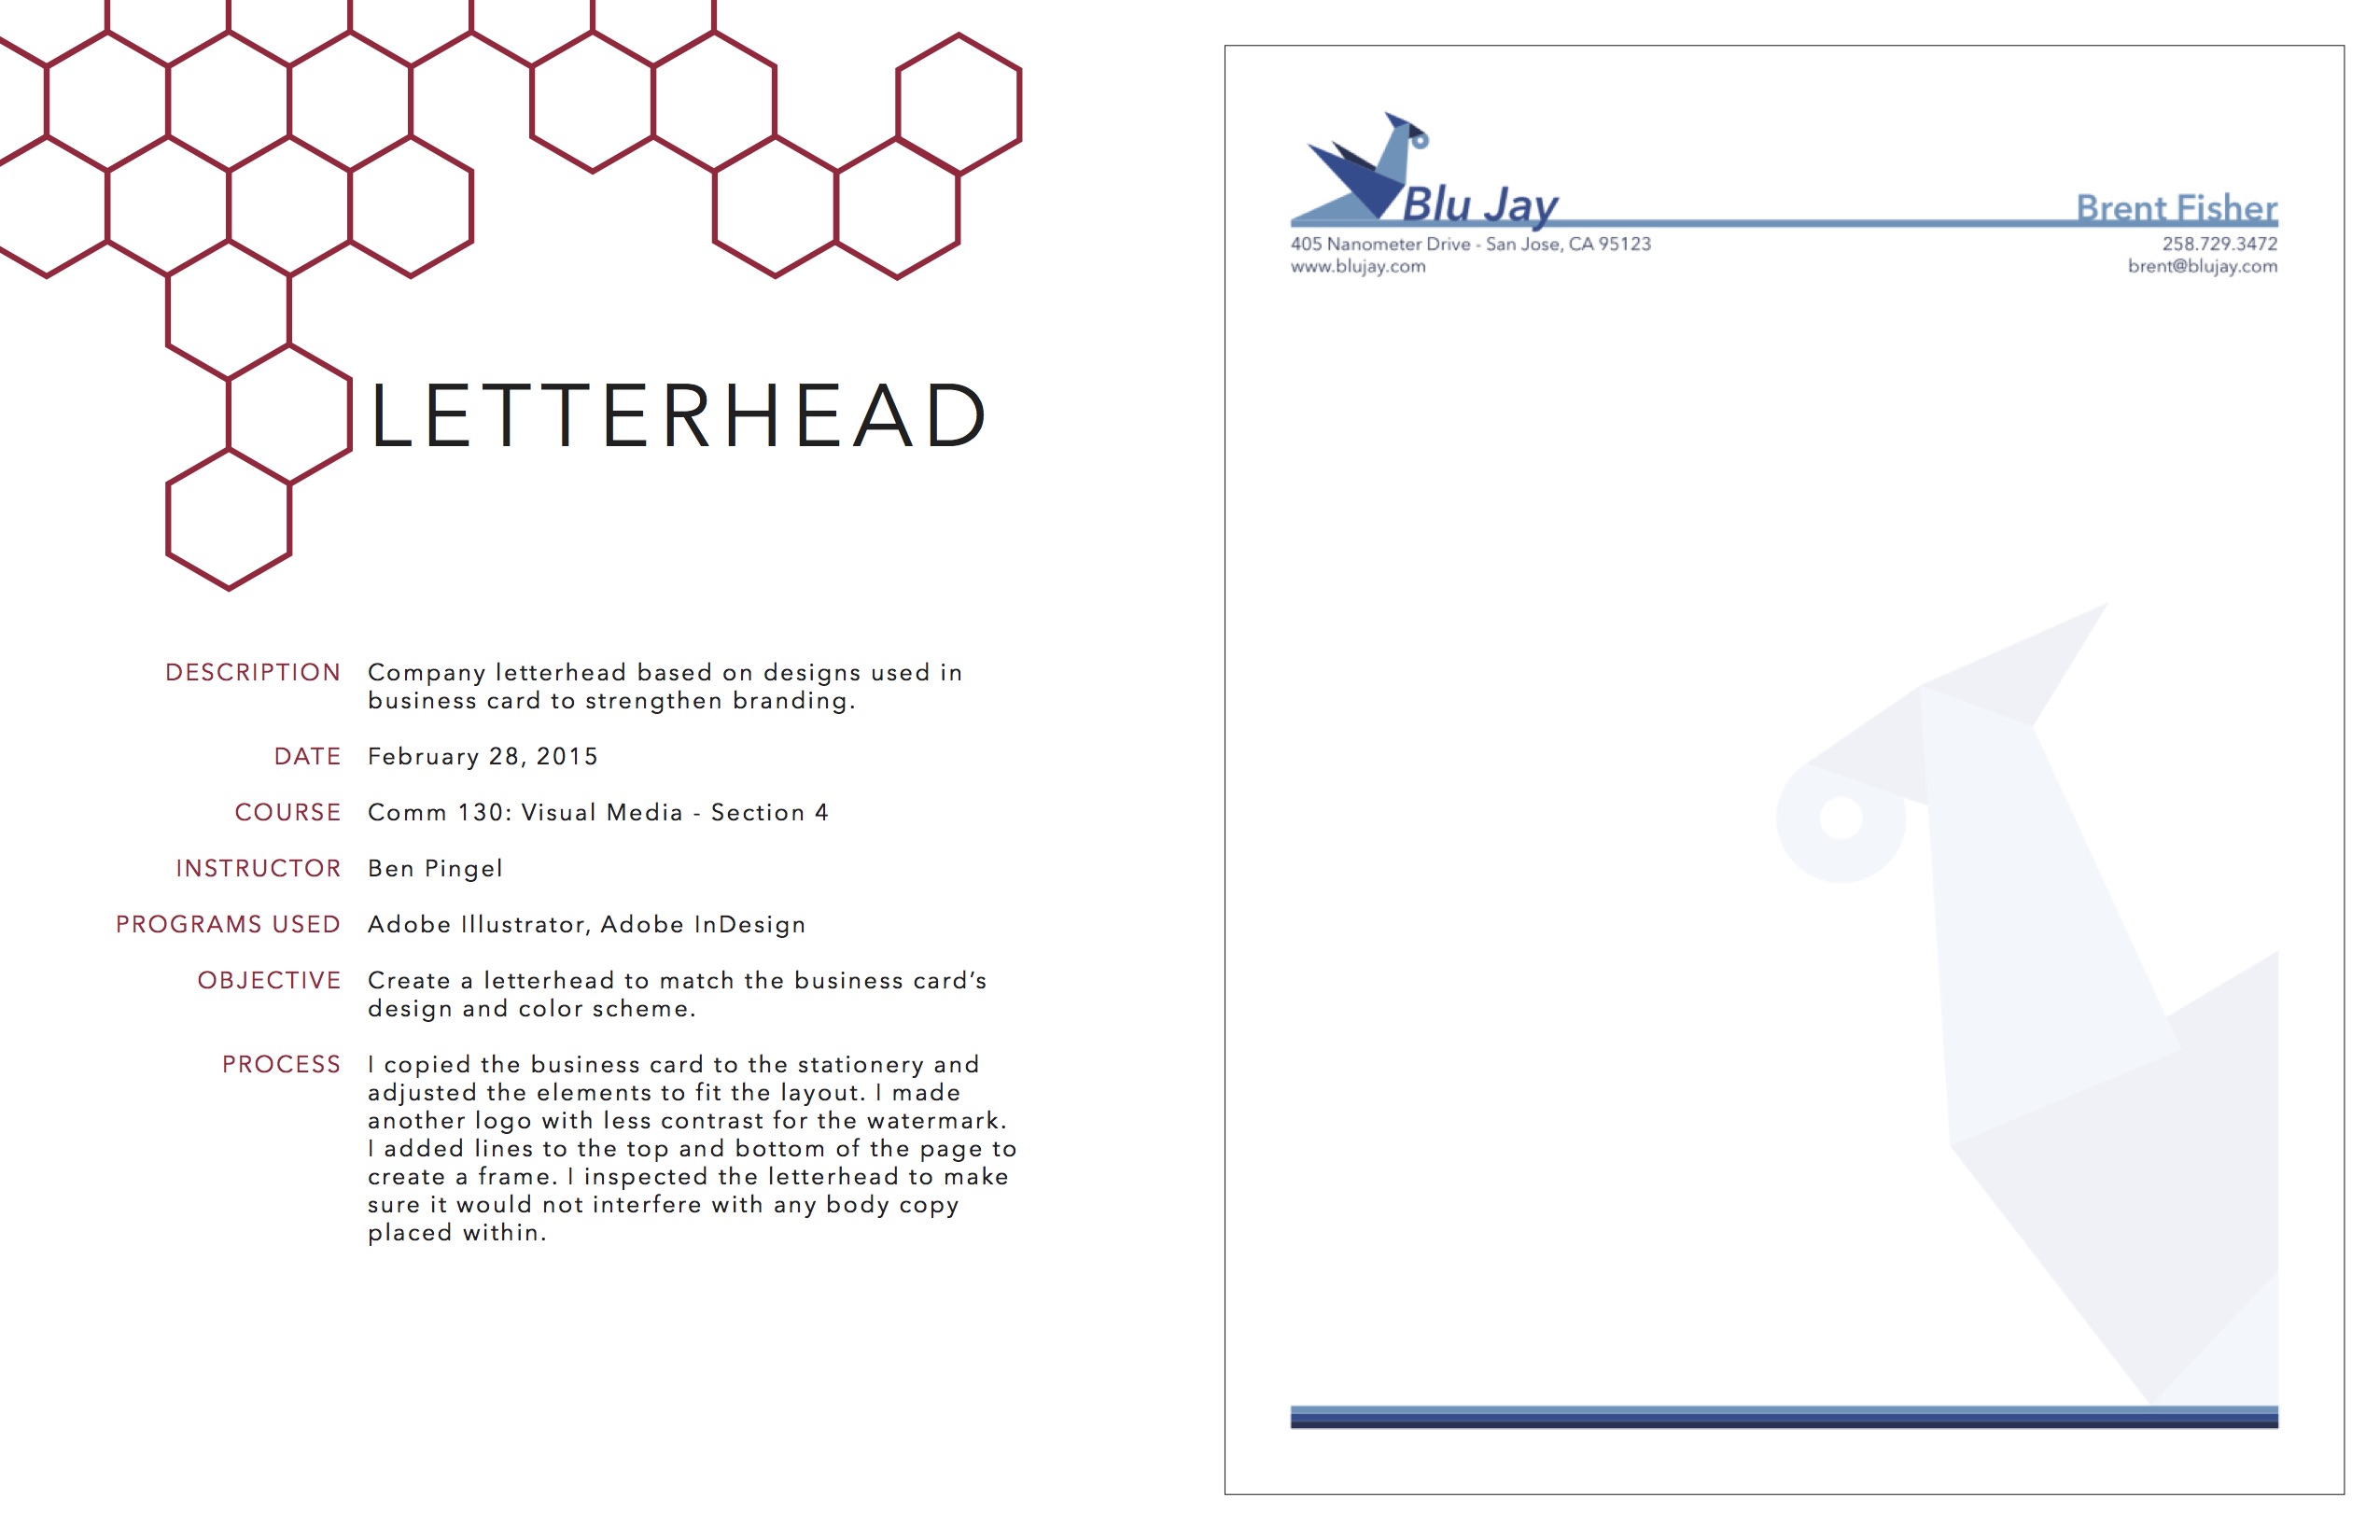
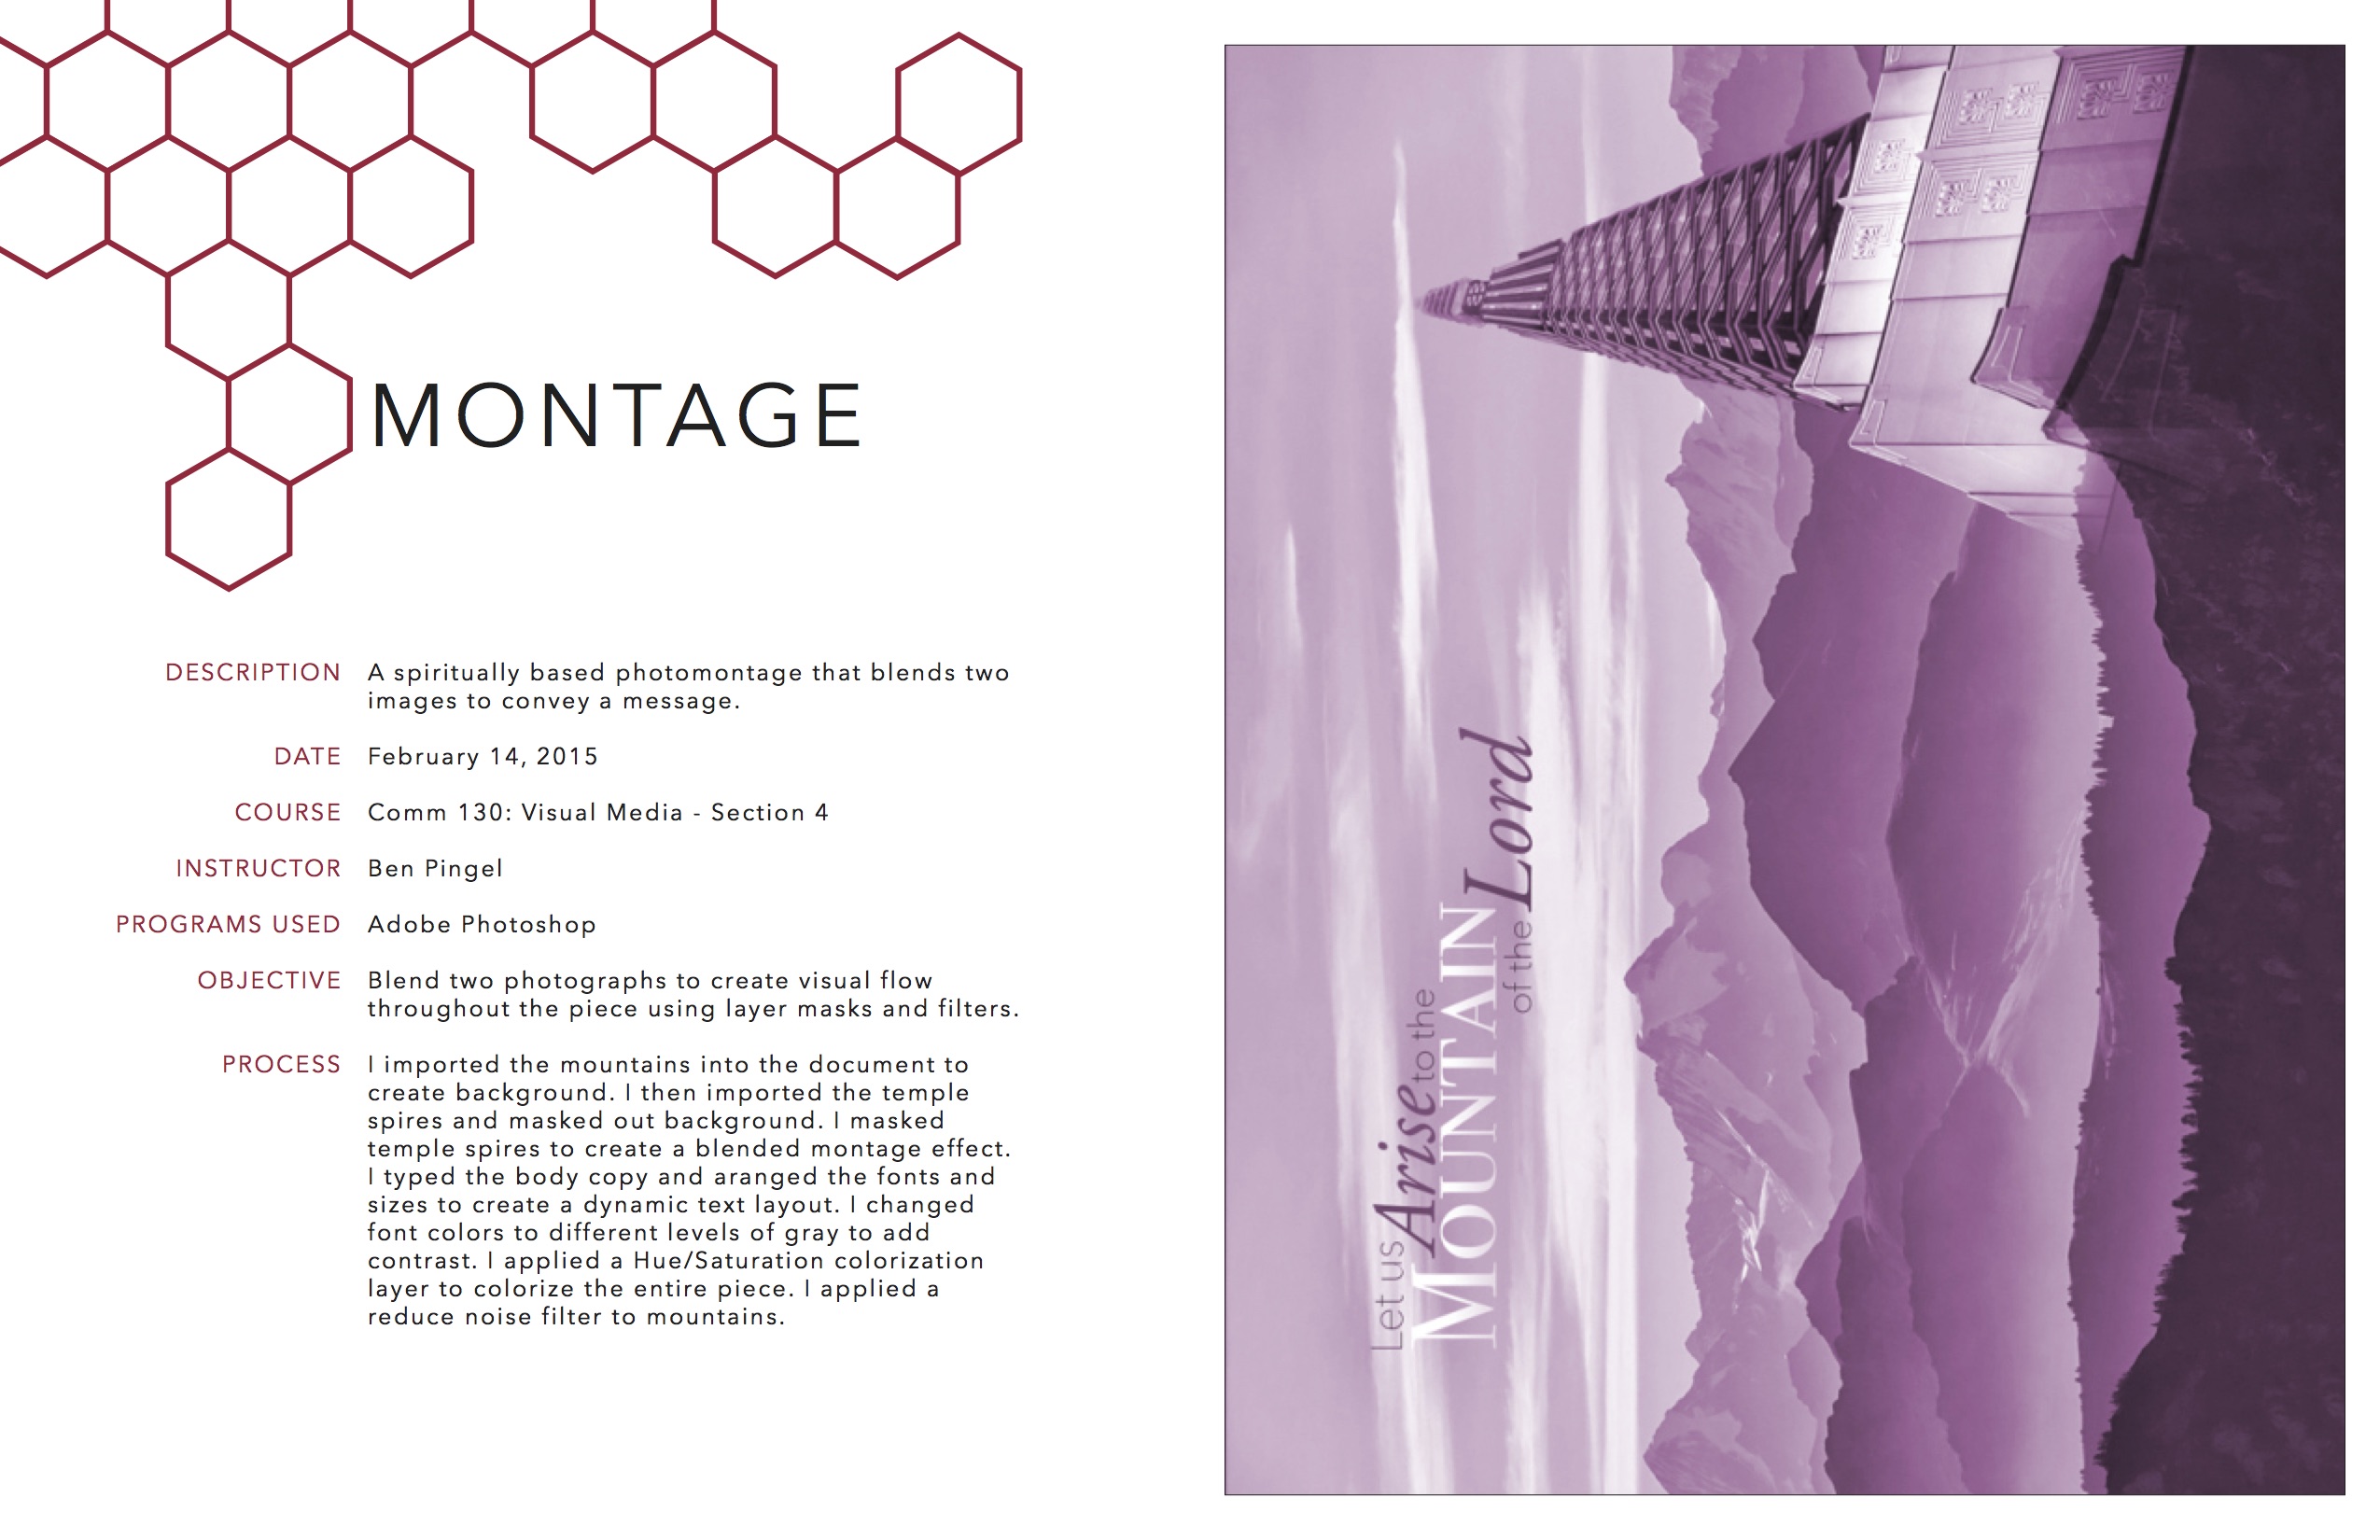
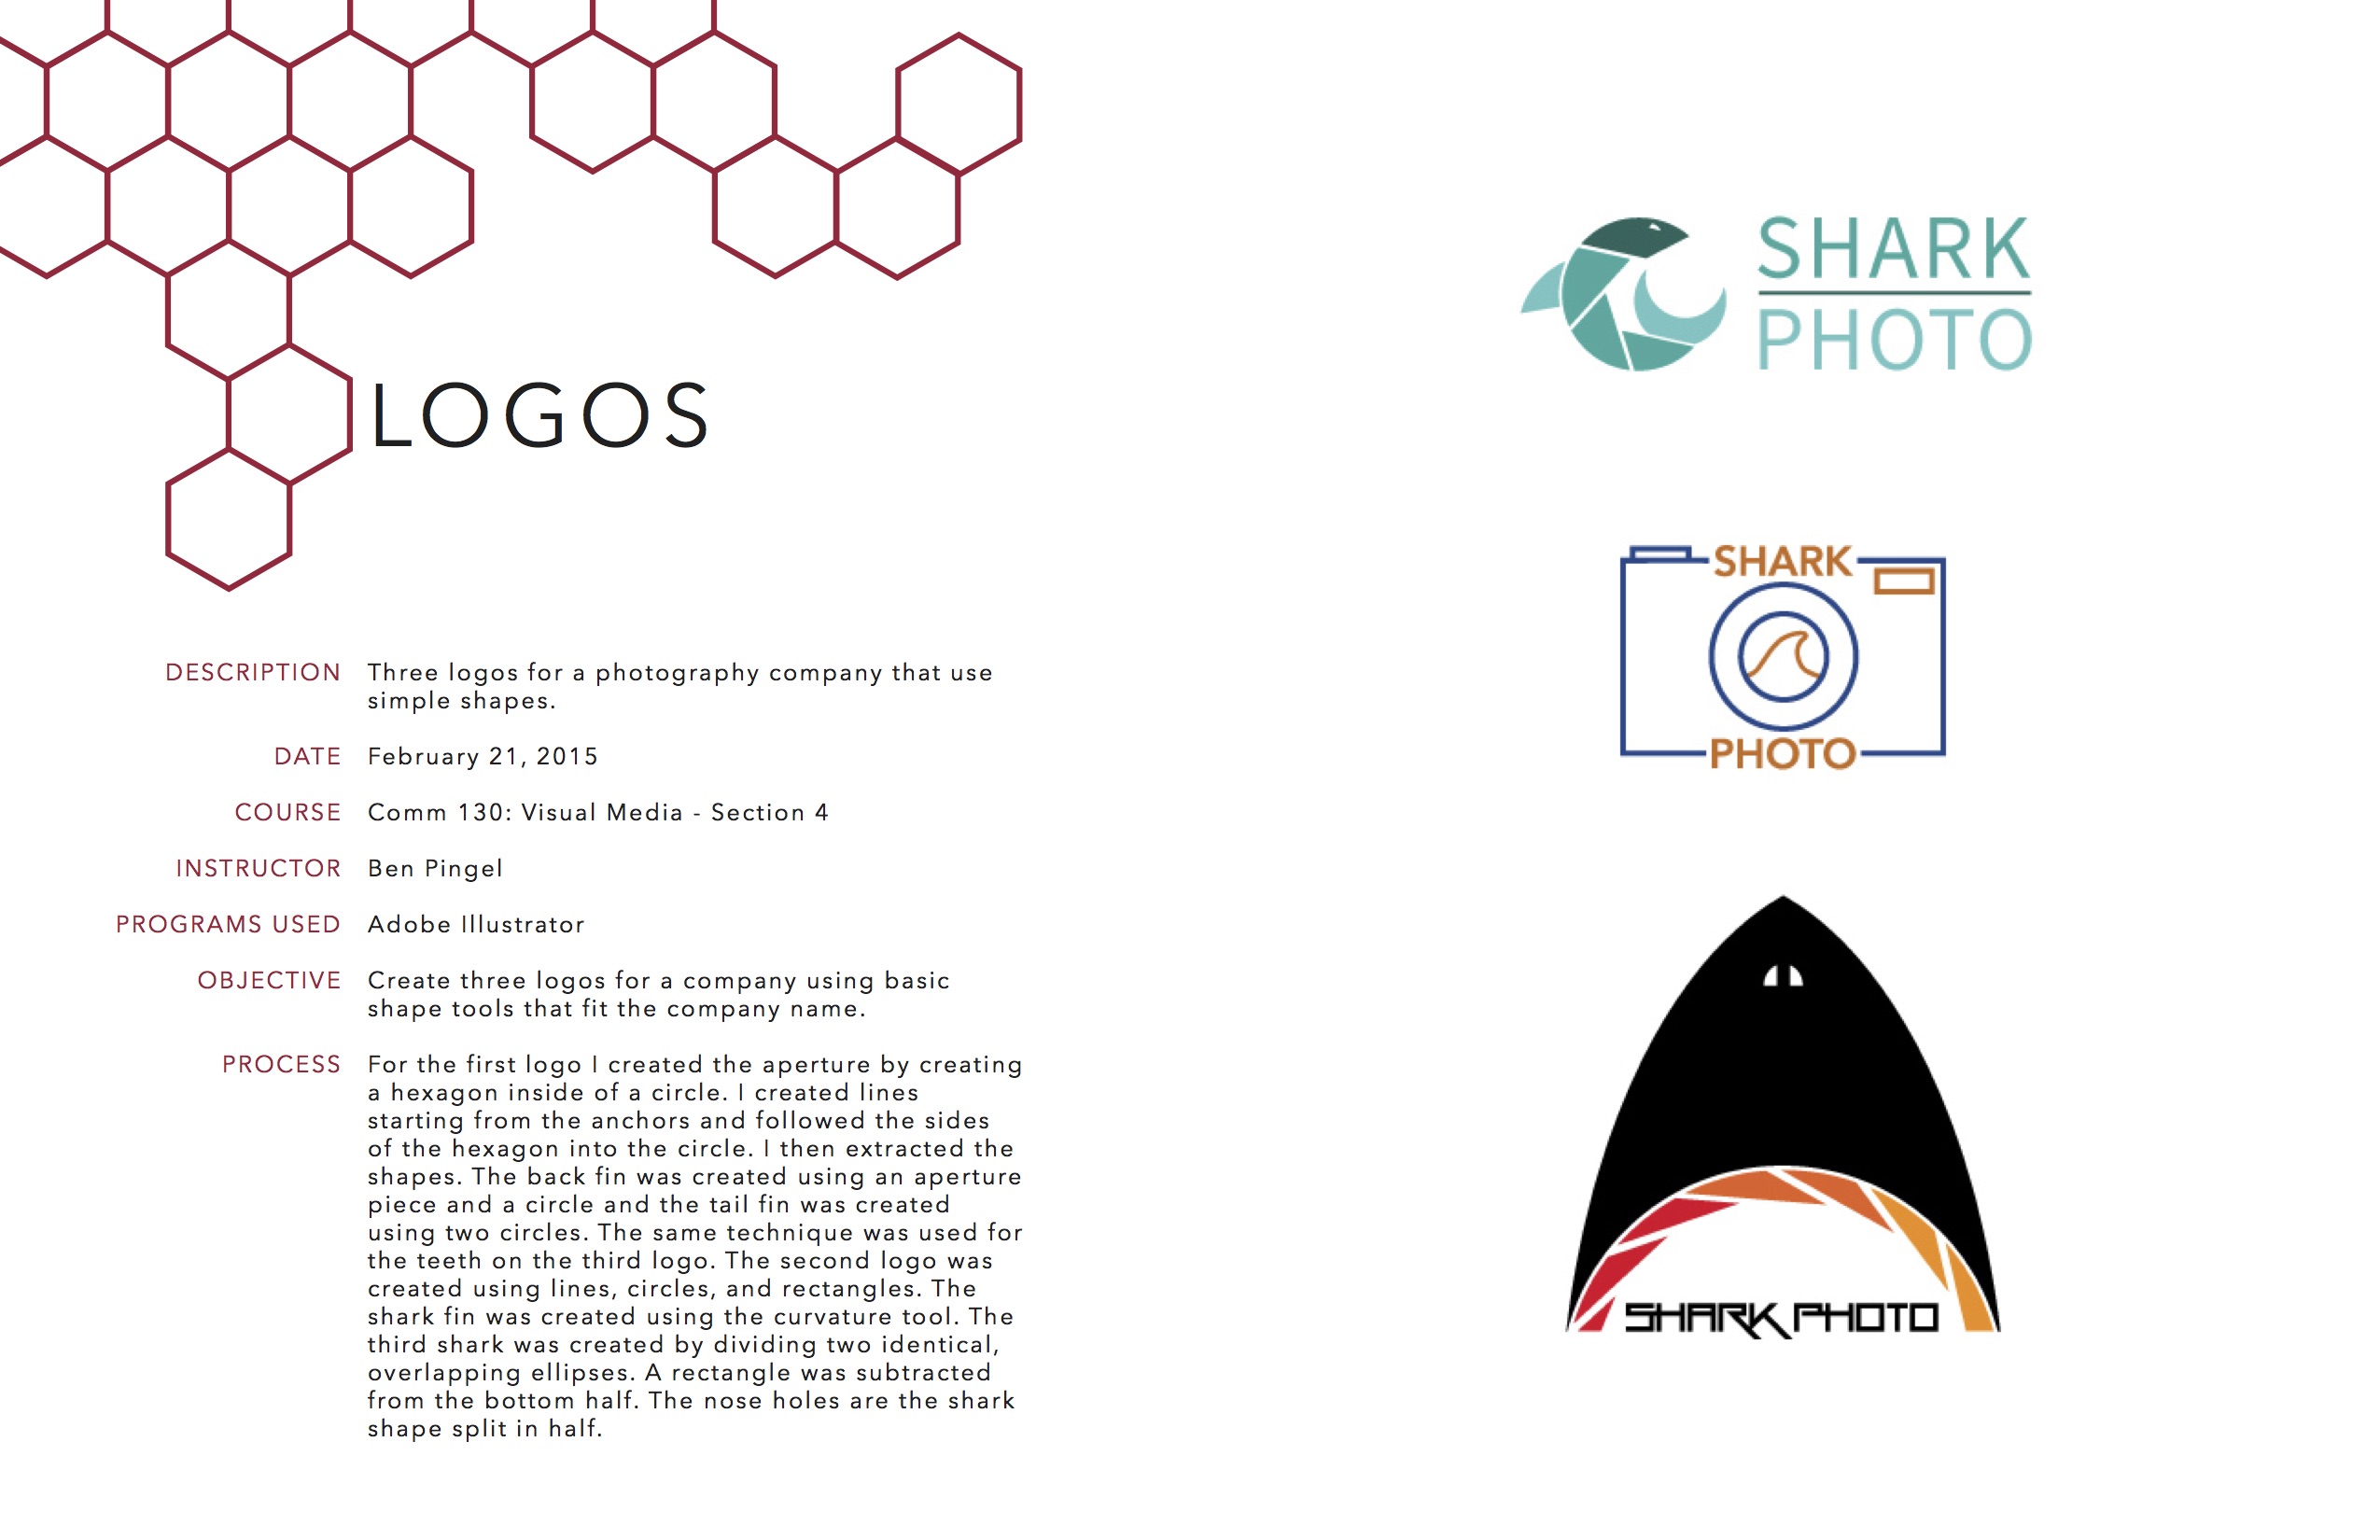
• Make a project description page for each project:
• Magazine Cover
• Prezi
• PhotoDesign
• Montage
• Business Identity (logos, business card, and letterhead)
• Infographic
• Coding
• Web Page Mockup
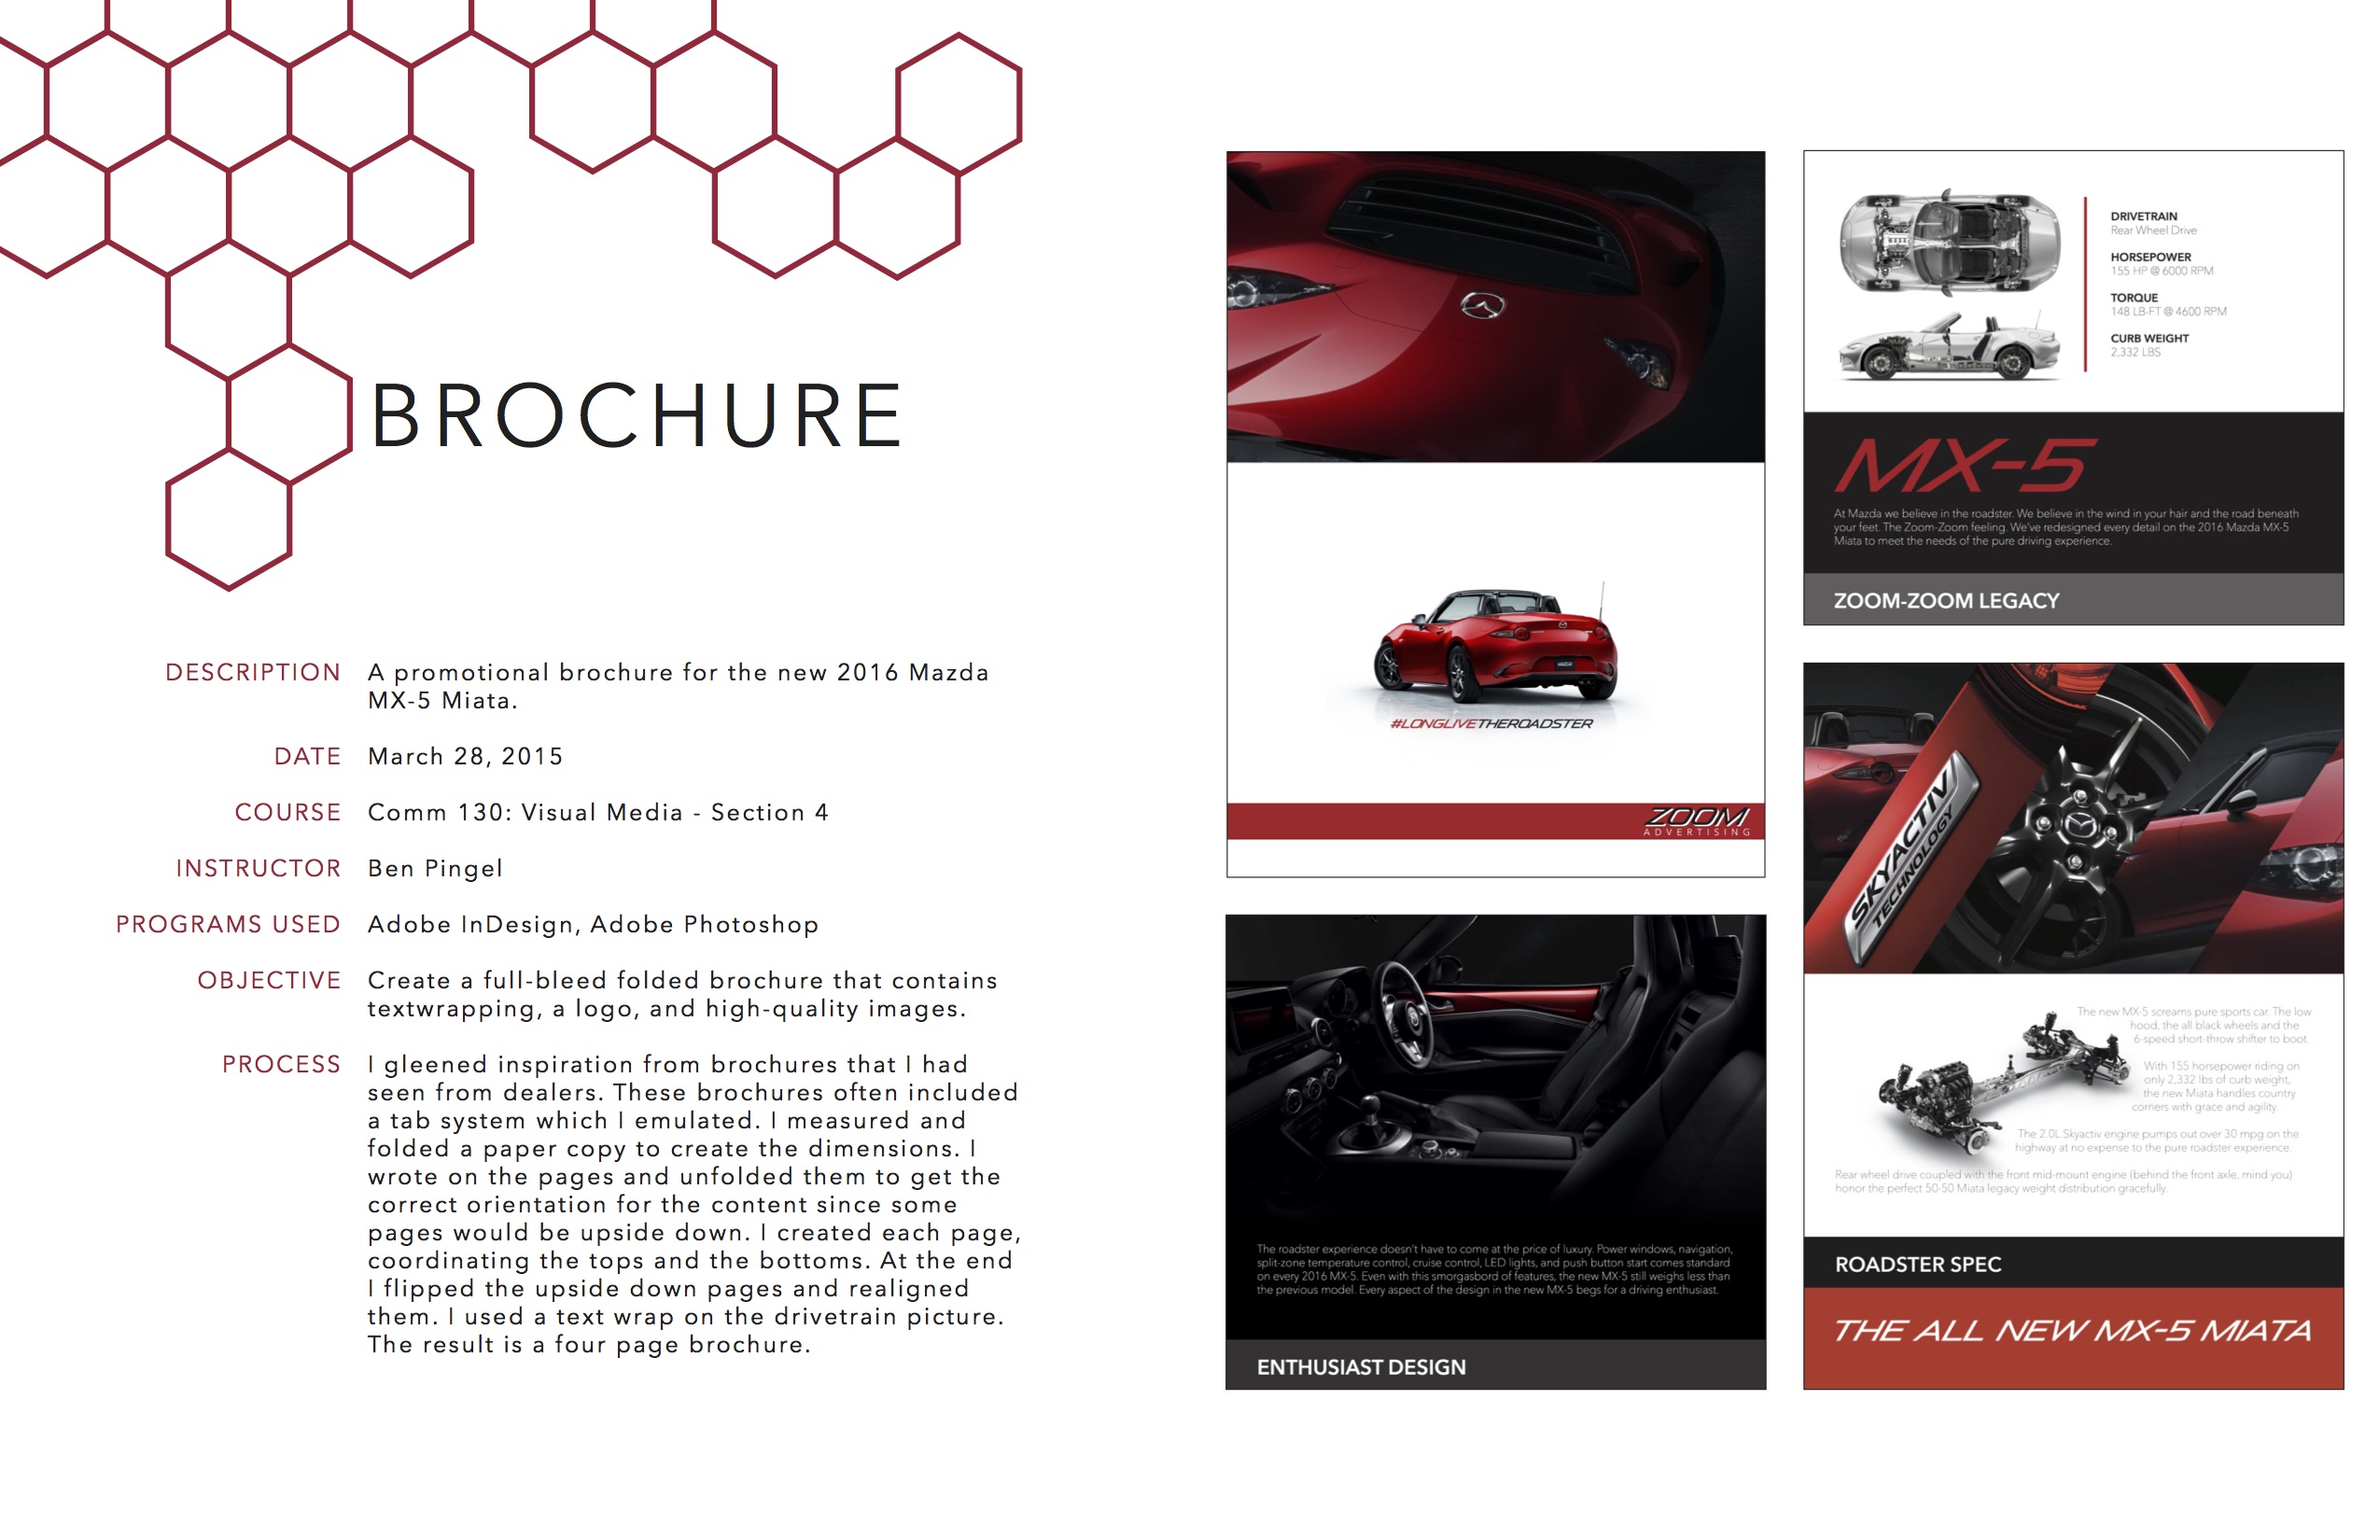
• Brochure
• Optional: Add other items designed for other courses, work etc.
Follow submission guidelines to post portfolio in a blog post.
Extra Credit: If you want to print your project for extra credit, see below optional printing section.
PART 2 – Project Corrections: 10 points
Make corrections to projects and list details on your portfolio blog post. You must spend at least 2 hours making corrections. Keep a record of what you worked on and how long each correction (project) took you. You can substitute project corrections with creating a whole new project. This new project must take you at least 2 hours.
PART 3 – Video Presentation: 10 points
Write a 2 – 3 minute well-prepared speech. Use this tutorial for Google Hangouts on Air: https://www.youtube.com/watch?v=qI83PUf4OWw (do NOT use Jing) to create a YouTube video to show the best projects in your portfolio.
• Length: Practice and time your presentation so it is 2 – 3 minutes.
• Introduction: Quote, short story, fun fact, etc
• Favorites: Show us through the pages of your Slideshare portfolio. Explain your choice of portfolio design and favorite projects.
• Learned/Challenges: Explain what you learned in this class.
• Future Application: Explain how are you going to use your Visual Media skills in the future.
• Conclusion: A well-chosen closing. Do not say “And that’s my portfolio” or “That’s it.” Try to tie your introduction back into your conclusion.
PART 4 – Extra Credit: Printing Option
Printing your portfolio is optional and worth extra credit.
Use the Itoya Clear Cover Portfolio with 24 sheets (48 views) from the BYU-I Bookstore that was listed on the syllabus. You must use this Portfolio or you will not be granted extra credit.
Print from the InDesign FILE with a color printer on portfolio quality paper.
Insert all of your projects and portfolio pages into the portfolio, starting with your best first.
Print before you post to your blog. The portfolio on your blog needs to match the final portfolio you printed. Most people print at least twice to get things right. Keep in mind things often print darker.
Create a video of your printed portfolio, just as you have done with every project you have printed. Spend between 1.5 and 2 minutes flipping through the portfolio, showing a few of your favorite projects, and demonstrating the quality of your printed portfolio.
Upload the video to YouTube and add the link to the video here in I-Learn. Be sure the video is marked as “public” or “unlisted.” Private videos will not be granted extra credit.
Happy printing!
Instructions
1. DESIGN: Following the Project Details (above), use the tutorials (below) to design a portfolio in InDesign. Make two hours of corrections (see “Part 2” above) to the projects you have completed previously.
2. CRITIQUE PROCESS
Find more details in Course > Critique Process
1. Class Facebook Critique: Post jpeg or png by Tuesday 6:00am MDST
2. Client Critique: Watch Instructor critique recording on Tuesday
3. Critique Meeting: Hold a critique session before final blog post
4. Critique Report: Write a paragraph in blog post about Who-When-How-What (See Course > Critique Process)
3. EXPORT AS PDF:
• Under the File menu select “Export”
• Name it “13AYourName”
• Chose Adobe PDF (Print) for the format (not interactive)
• Click “save”
• Under “Pages” choose “All” & “Spreads”
• Click on the Compression menu on the left side
• Under “Compression” – set all 3 image settings (Color, Grayscale, and Monochromatic) to 100ppi for “Bicubic Downsampling to” and 150ppi for “for images above”
• Click “Export”
4. UPLOAD PDF TO SLIDESHARE:
• Open a new, free account at: www.slideshare.net.
• In the top right corner, click “Upload” and “Browse” to find your PDF. Fill out the information. Make sure your status is “PUBLIC.”
• Then copy the “Wordpress Shortcode.” (Do NOT copy the embed code or else it will not work. See tutorial below!)
• Open your blog post and click “Text” to see the HTML code. Paste in the embed code. The slide deck will appear as gray box or code text, but once you publish your post and view it, the slide deck should work great!
• If this does not work for you, after you upload hit view presentation and then Share, get the WordPress shortcode and paste that in to the text part on the blog post.
• If you are still having problems, remember that there are so many other resources to try and solve a problem. Try “Googling” your problem and find some tutorials that can help.
5. VIDEO PRESENTATION:
• Create a video presentation following the guidelines under “PART 3 – Video Presentation” above.
• Next, go to YouTube.com and sign into your account.
• Click on the “Video Manager” button and then click on the video name to display it in the browser.
• Below the video click on the word “Share” and “Embed.” Copy the code (Should look something like: <iframe width=”560″ height=”315″ src=”//www.youtube.com/embed/ZK8QLLdAz0Y” frameborder=”0″ allowfullscreen></iframe>) into your blog post (see #6 below).
• Uncheck the option to share suggested videos when the video is done.
6. BLOG POST:
View 13A Sample Blog Post as a guide.
Make sure to embed your portfolio in your blog post. Also state the corrections you made and the amount of time spent on them.
Submission – Find more details in Course > Blog Post: Submission Instructions
1. Go to project submission and attach the SCREENSHOT of your blog post.
2. Then you will be able to insert a working HYPERLINK to your blog, in the comments box.
3. State if you “attended class” by watching the entire INTRO/DEMO VIDEO and list the KEY WORDS.
Tutorials
• InDesign Master Pages
• InDesign
• Photoshop
• Illustrator
Rubric: 50 points
NOTE: Meeting these minimum requirements will result in a 80% or B- grade, according to the University Grading System. To receive a higher grade, students must exceed these minimum expectations.
√ FOCUS Principles
• Formulate: Message (is clear) • Audience (relates to target)
• Organize: Shape (Adequate white space/grouped white space/not trapped) • Proximity (grouping/adequate spacing/flow) • Alignment
• Contrast: Asymmetry (avoid centering) • Value (variations) • Color (works/relates to audience)
• Unify: Repetition (elements repeat) • Rhythm (patterns/intervals) • Gestalt (unity)
• Simplify: Elimination (not too busy) • Communication (understandable)
• Good Design, Creativity and Uniqueness, and Shows Effort
√ Typography
• No more than 2 fonts • Contrasting fonts • Title size/font contrast • Appropriate leading/kerning/tracking • Easy to read • Text spacing in box • Text not too close to edges of page or other elements • Proportional text (not squished or stretched)
• Small body copy (10-12pt) • No widows • No orphans • No underlining • No hyphens • Consistent paragraph alignment/Indenting
• Appropriate caps • Correct spelling / punctuation / grammar
√ Pages
• Cover Page: Appealing Color Design • Student name • The word “Portfolio” • Proportional • Quality resolution / No lost links • Color
• Title Page: Consistent Design • Name • Address • Phone number • Email
• Table of Contents: List of all projects done this semester • Place best projects first • Keep text small
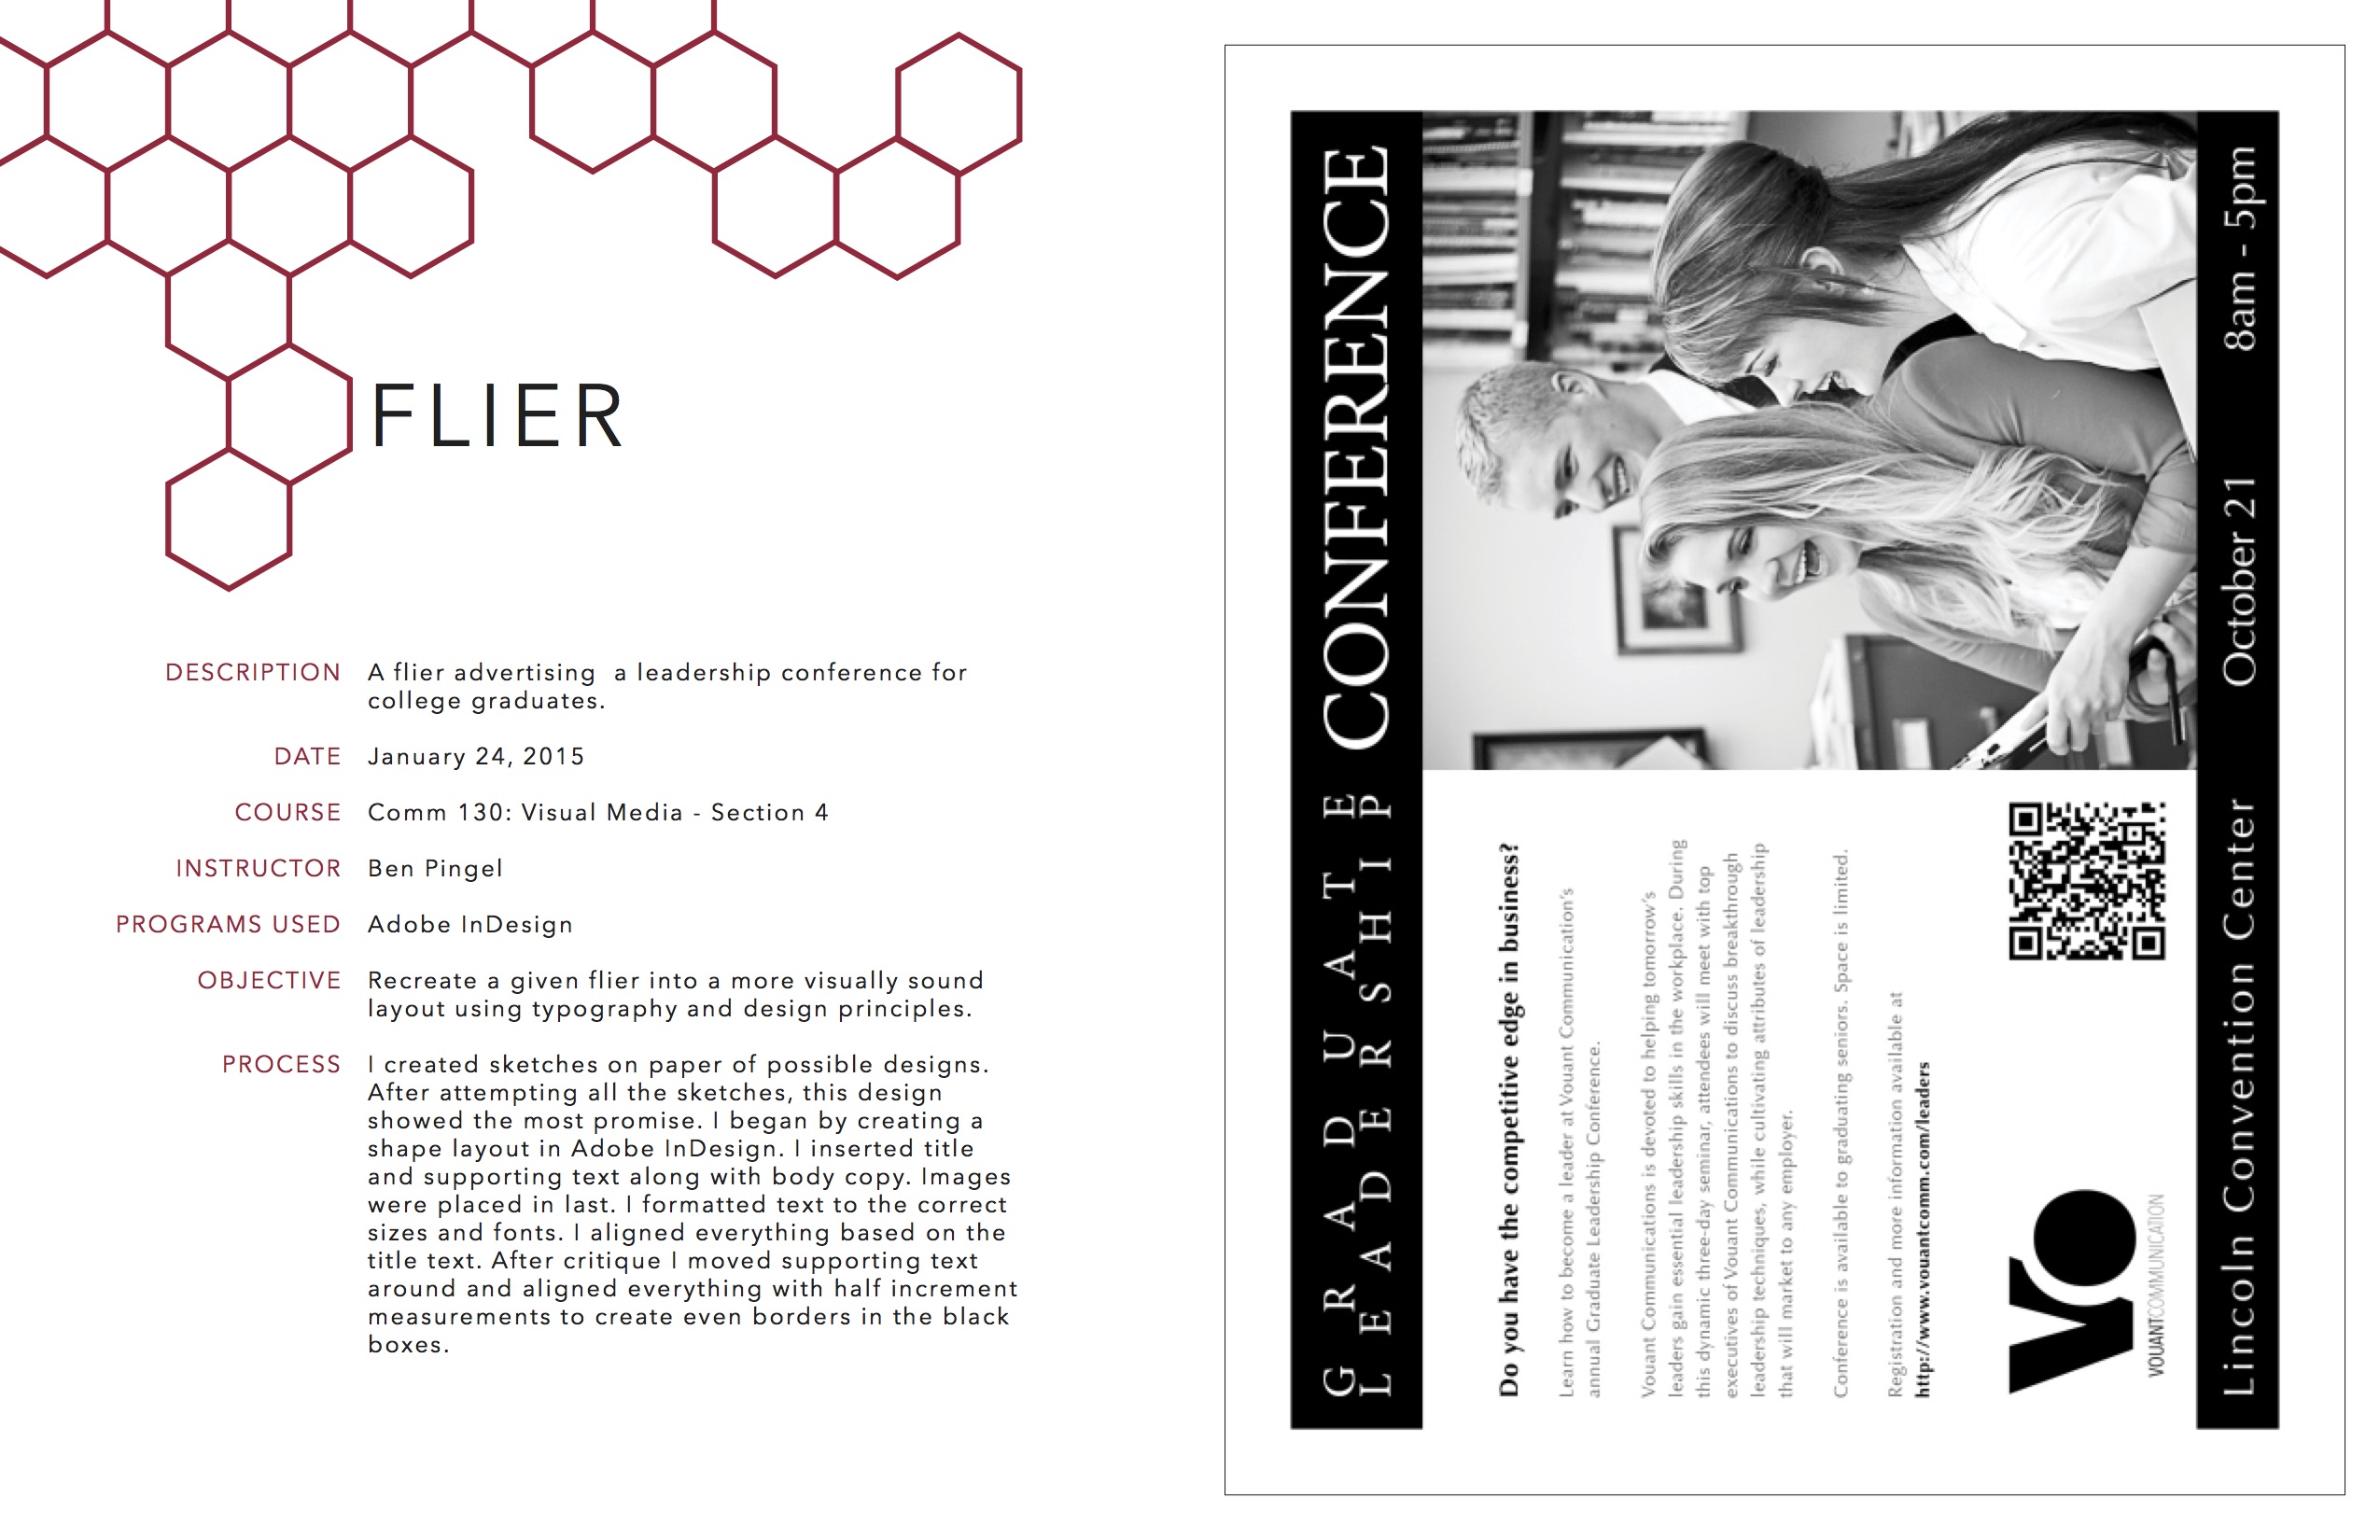
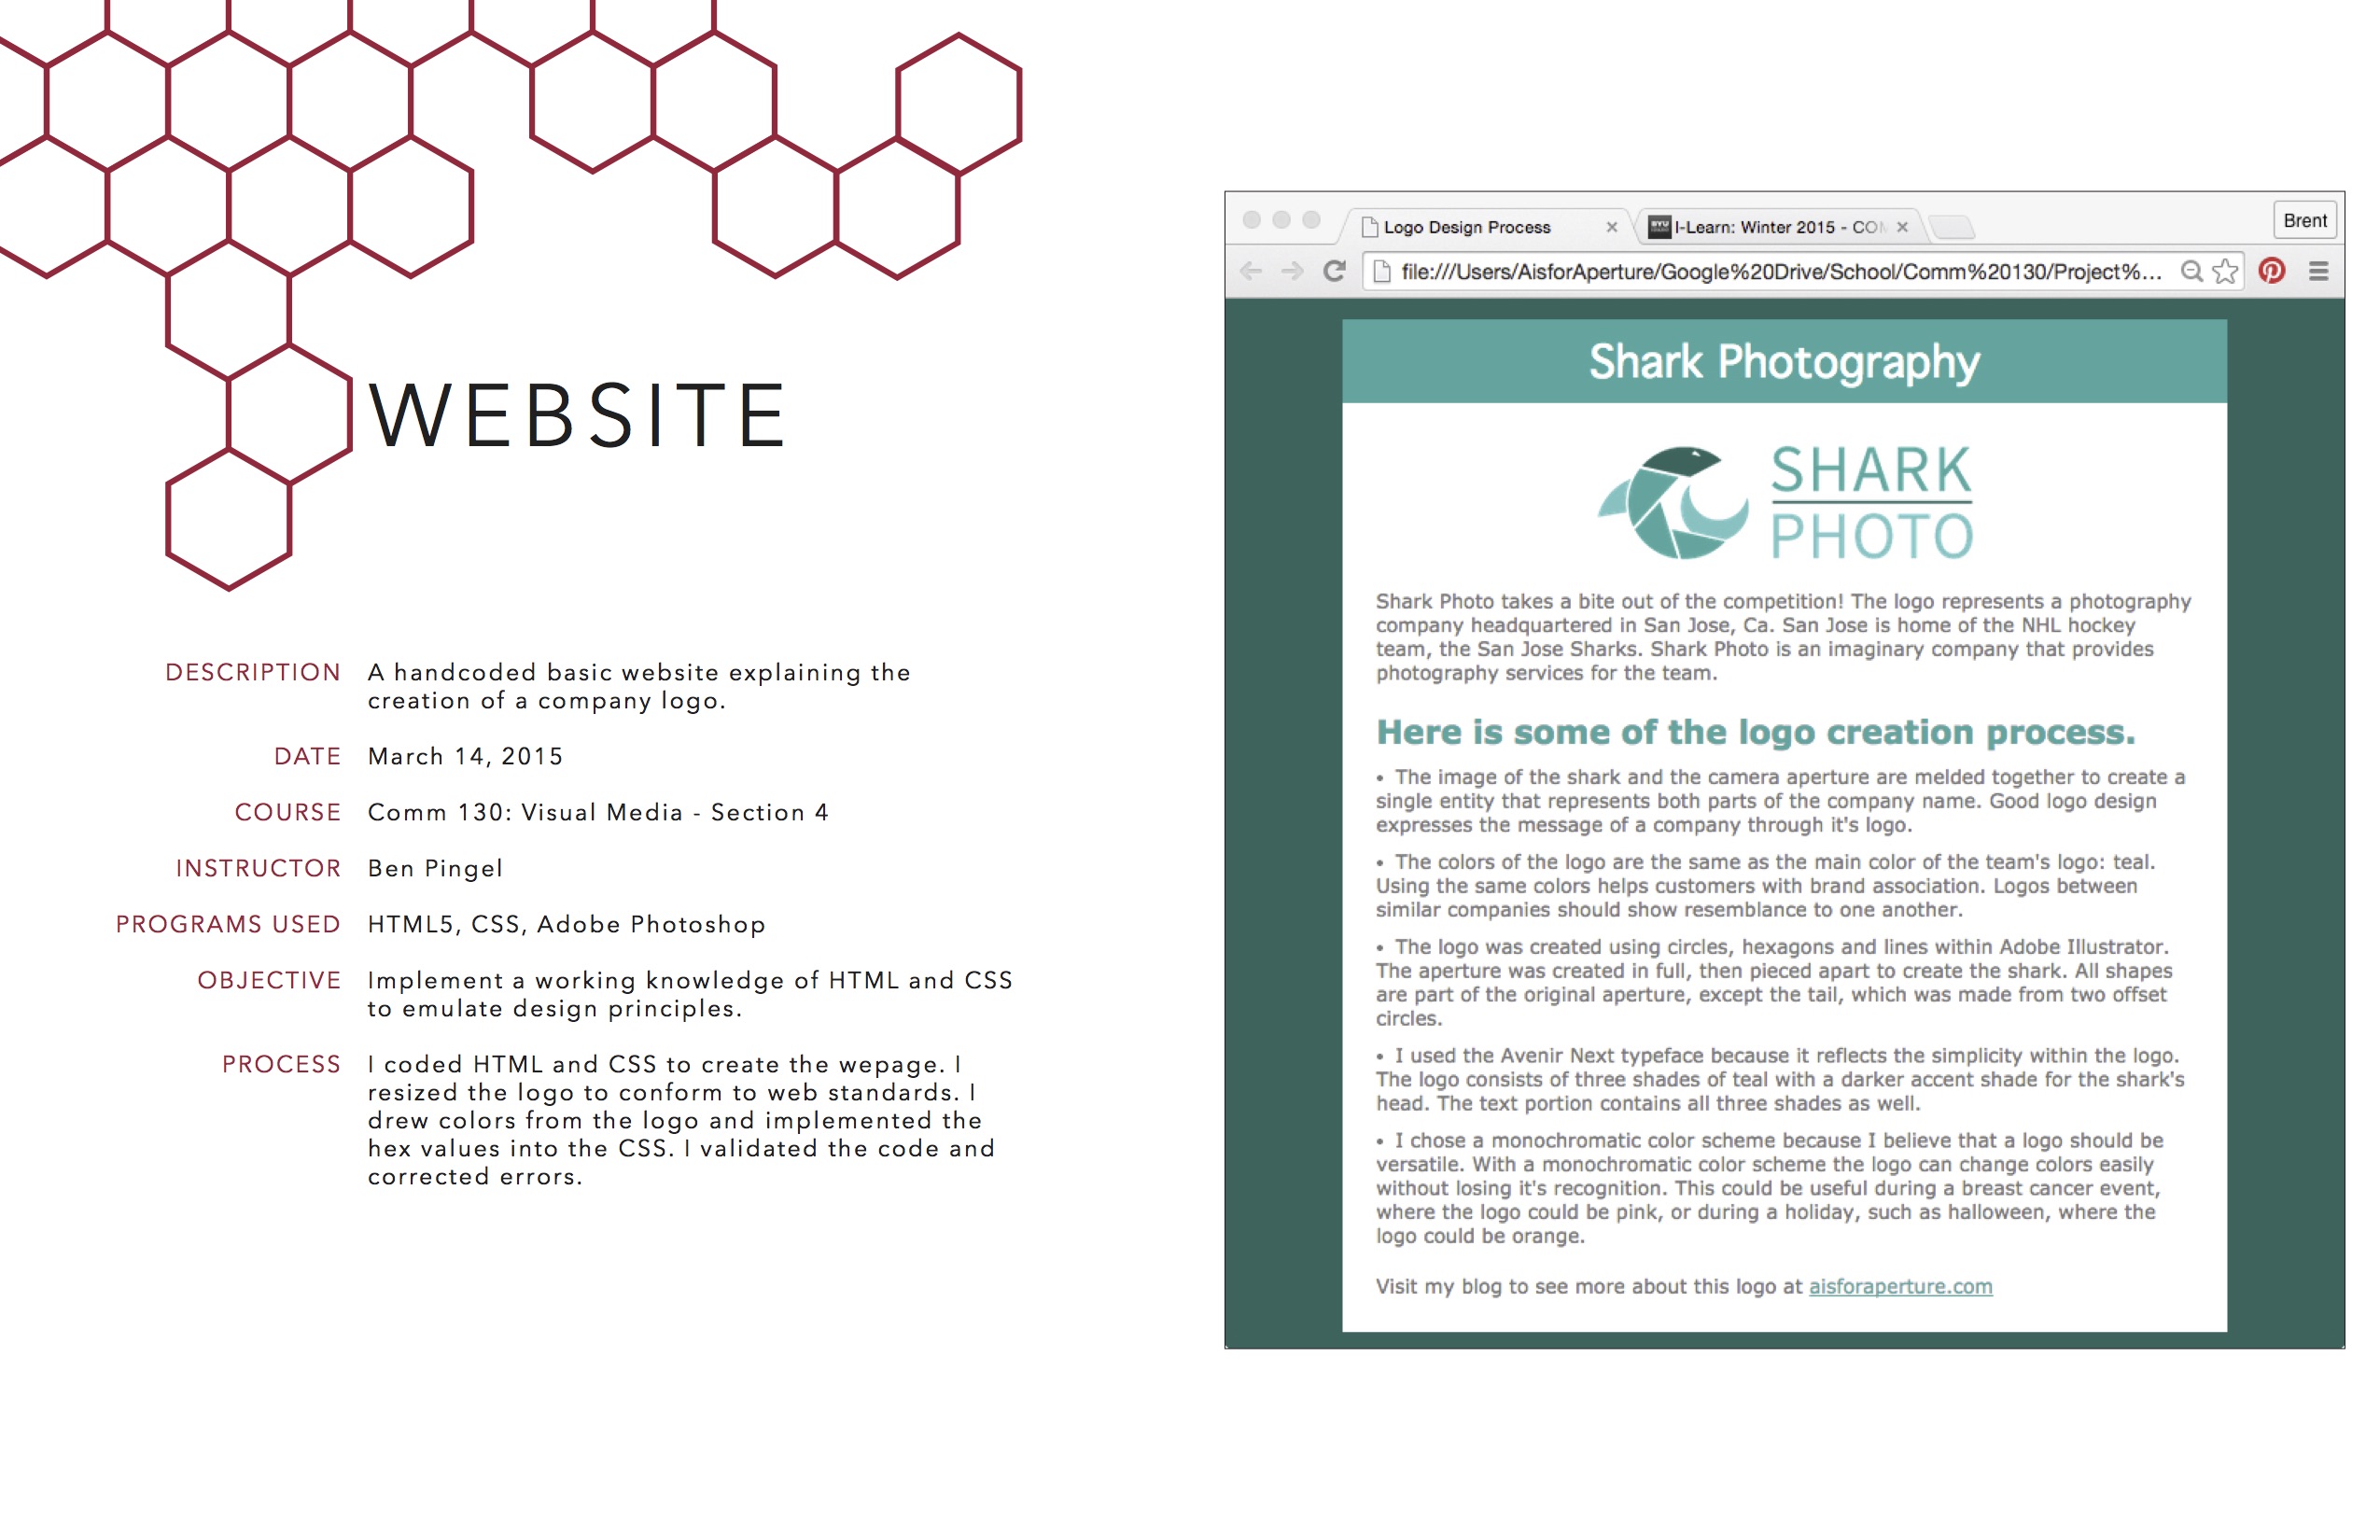
• Description Pages (9 pages): Title of project • Description • Programs used • Date • Course # & Section • Instructor name • Objective (see project page) • Process (4-5 sentences) • Consistent placement
• All 9 Projects completed and turned in (2.5 points each)
• Missing Description Page (-2.5 points each)
√ Project Corrections (10 points)
• Two hours • Correct 1 or more projects or substituted with creating a new project
√ Final Presentations (10 points)
• 2-3 min length • Intro • Favorites • Learned Most/Challenges • Future application • Conclusion!
√ Blog Post & Submission
• Blog Post: Project displayed: Slideshare • List project corrections (time spent/projects corrected/corrections) • Critique Report • Message • Audience listed • Top thing learned • Colors scheme and color name • Title/Copy font & category listed • Thumbnails of images • Links to images / Source (title of site, not Google) • Add link in I-Learn and screenshot of full blog post in notes section • Class Participation & Keywords
CAUTION: your assignment is not complete until you submit in I-Learn. However, you are allowed a one-time extension, if you choose to use your mulligan. (See syllabus). We check your blog post for completion right at the deadline, so please do not add things after submitting your link, until it has been graded.