
12A: Brochure Project
Client Situation
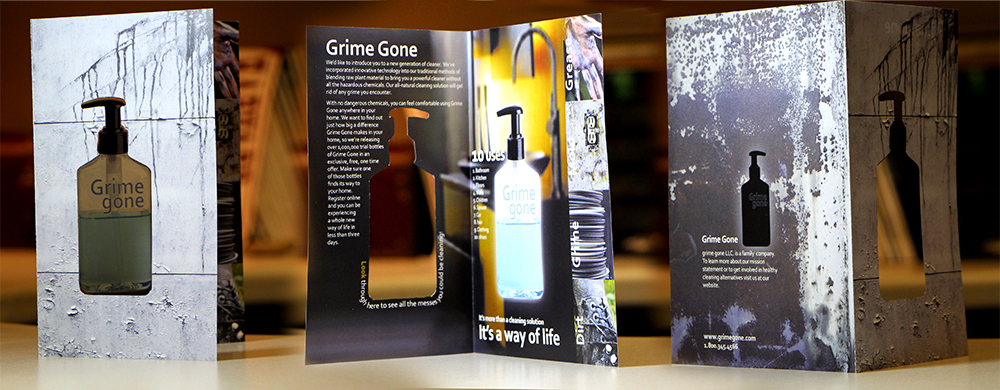
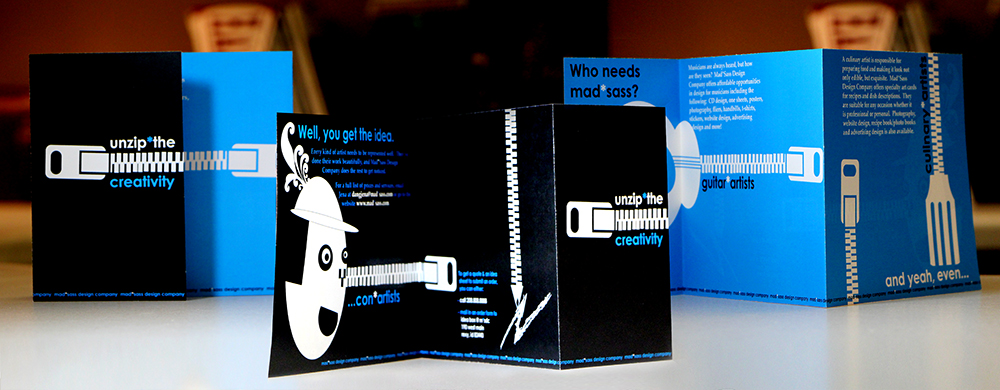
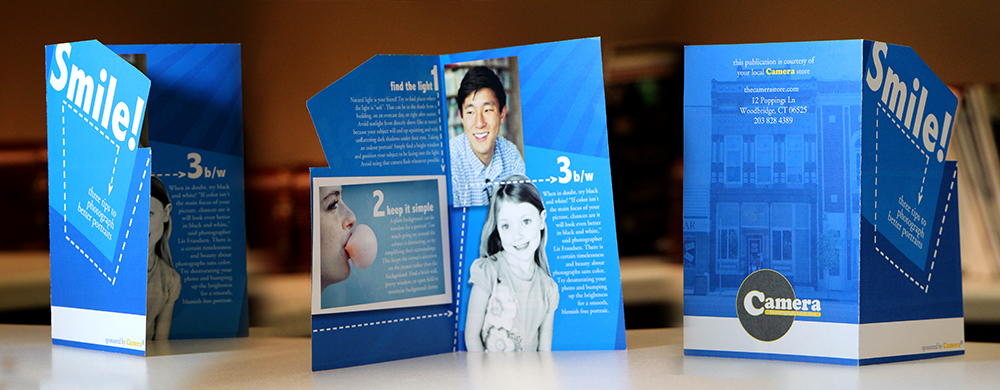
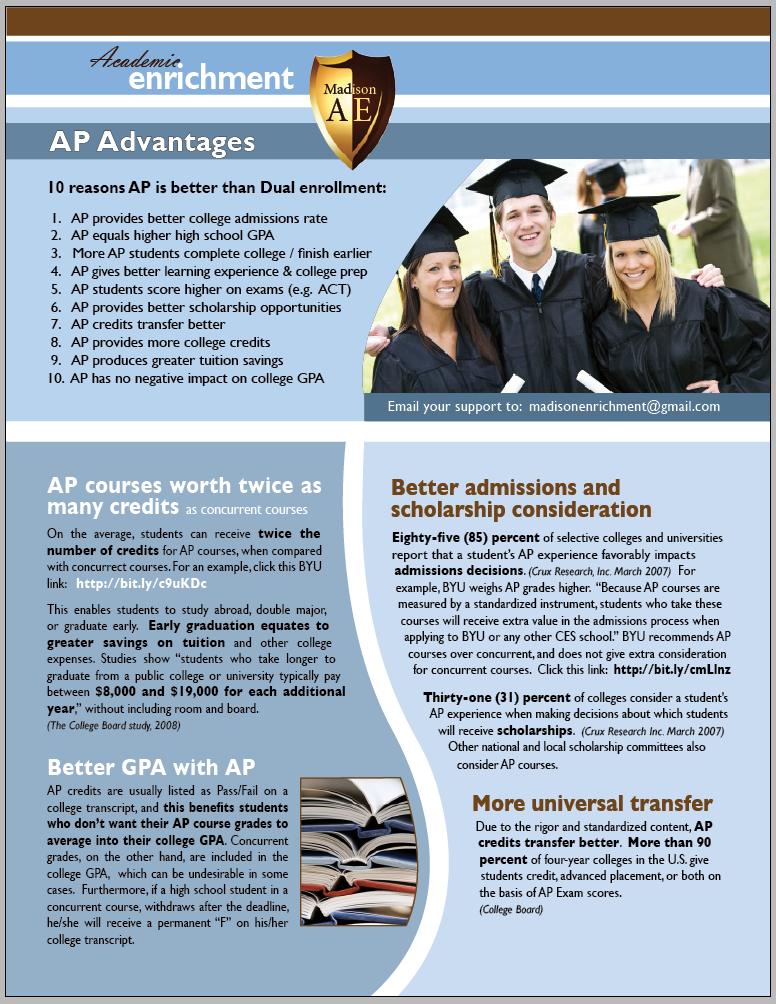
Your employer wants you to design a full-color, folding brochure to help promote the company product, service or location. The purpose of your brochure may be informational or advertising. You may choose ANY topic. Make this something you enjoy.
Any duplex (two-sided) folding document can be considered a brochure. Brochures come in all sizes and shapes. You may use any folding brochure design you want and any size you want. You may use one of the two sample layouts you did during the first activity (newsletter or offset brochure) or create something new. Use all three programs you have learned to create your brochure: design a logo in Illustrator, edit images in Photoshop, and design the brochure layout in InDesign.
Preparation
- VIEW: 12A Sample Blog Post (The mockup shown in this post is not required, but is shown just for you to see how it would look.)
- TOOLS: InDesign and Photoshop
- GOOGLE IT: Brochure Examples
- INSTRUCTIONAL VIDEOS: InDesign – Basic Layout, InDesign – Advanced Curved Layout, InDesign, Photoshop, Illustrator
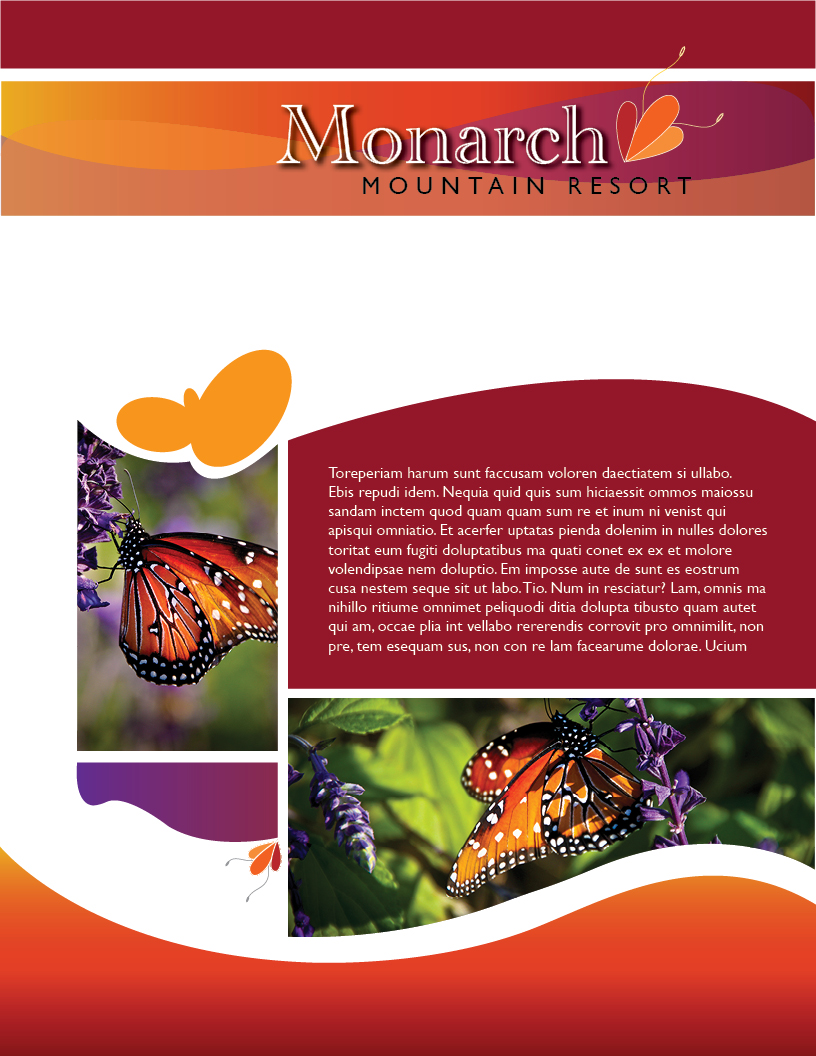
- ADDITIONAL LEARNING: Learn how to create curved background shapes by using the pen, pencil, and pathfinder tools, right in InDesign with this video tutorial. Click below to enlarge some examples.
Instructions
1. DESIGN
Use the InDesign Tutorials (below) to design a brochure in InDesign. Set up and align a two-sided, folded document.
2. LOGO
Create an original, new logo in Illustrator and use it in the brochure.
3. IMAGES
Incorporate at least four quality images, not including the logo. One should be clipped in Photoshop and text-wrapped in InDesign so the text follows the cutout shape of the image.
4. TEXT
Write at least 250 words of original copy in at least three paragraphs, headers, and subheaders.
5. CRITIQUE PROCESS
Find more details in Course > Critique Process
1. Class Facebook Critique: Post jpeg or png by Tuesday 6:00am MDST
2. Client Critique: Watch Instructor critique recording on Tuesday
3. Critique Meeting: Hold a critique session before final blog post
4. Critique Report: Write a paragraph in blog post about Who-When-How-What (See Course > Critique Process)
6. PRINT & VIDEO PROCESS
Complete the following requirements in your video: Show all sides of brochure • Show images, logo, paragraph styles, margins, folds up-close • Printing – Folding – Trimming Process • Embedded into blog post
Make corrections and print project on quality color paper (see duplex printing tutorial below). Trim for a full bleed and print in duplex (two-sided) color. If you don’t own a good quality printer, you’ll need to go to your local copy shop. Note: Do not print from the blog jpeg. Print from your full-size .indd document.
Find more details in Course > Print & Video Process.
7. SIZE IMAGE FOR BLOG
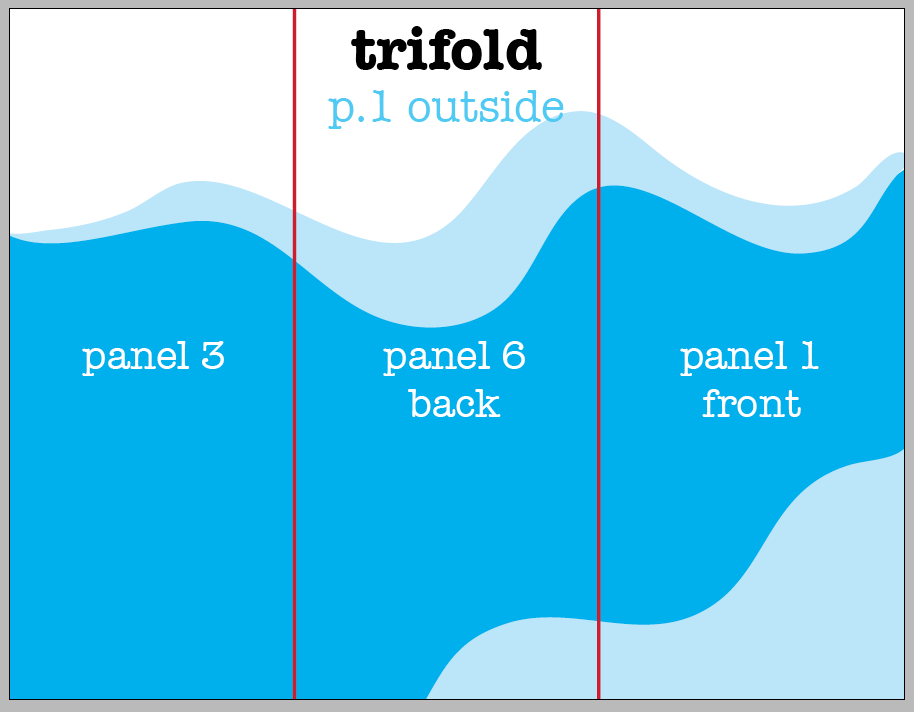
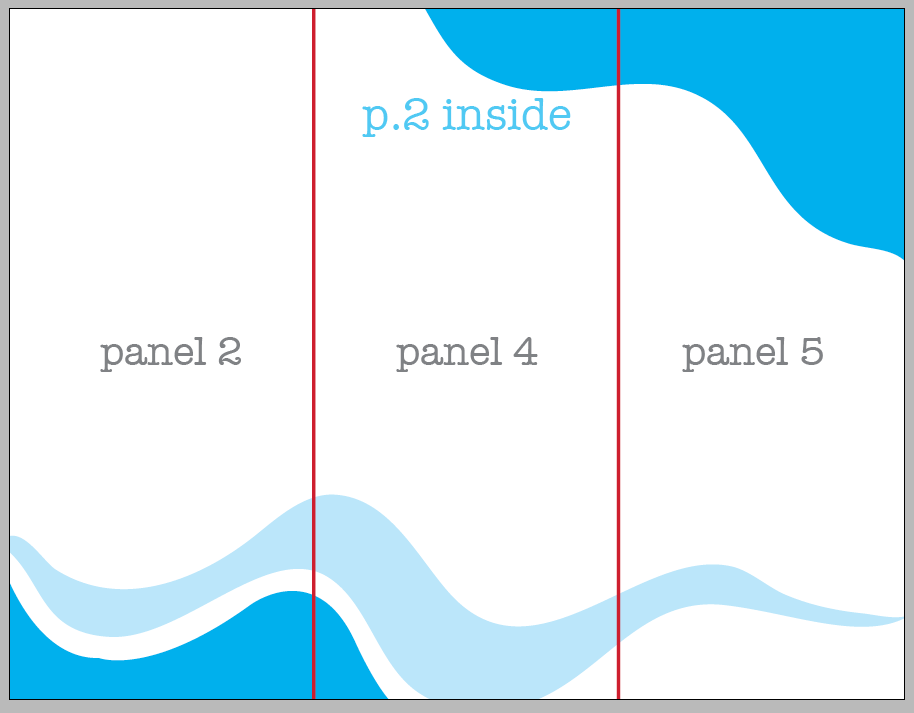
1. From InDesign take three screenshots of the brochure layout: the front, the inside, and the back. Be sure to hold “Shift – W” to put InDesign in presentation mode and get rid of gridlines, and zoom in to 100%. Then on a Mac, choose “Shift – Cmd – 4” and the cursor will turn into camera crosshairs. Drag the cursor around the portion you want to capture. On a PC, hold the “function” key and the “PrtScr” key at the top left of your keyboard. Then, you will need to crop down the image. (Or Google it to find a free PC screen capture software.)
2. Find the screenshot images (on your desktop).
3. Save these image files with your name. Example: “12AJakeSpencer-front,” “12AJakeSpencer-inside,” “12AJakeSpencer-back”
8. BLOG POST & SUBMISSION PROCESS
Use 12A Sample Blog Post as a guide. (The mockup shown in this post is not required, but is shown just for you to see how it would look.)
Submission – Find more details in Course > Blog Post: Submission Instructions
1. Go to project submission and attach the SCREENSHOT of your blog post.
2. Then you will be able to insert a working HYPERLINK to your blog, in the comments box.
3. State if you “attended class” by watching the entire INTRO/DEMO VIDEO and list the KEY WORDS.
NOTE: Do not submit until everything is complete. Once you submit, be sure NOT to change anything on your post, until after it is graded.
Tutorial: Printing Duplex
Landscape: Short-edge Printing
- File > Print
- Choose your desired printer
- Click “Printer” button on bottom
- Click “Show Details”
- Open the dropdown for “Two-Sided”: change to “Short-Edge Binding.”
- If there are no binding options you may have to change the “Layout” to “Xerox Features” > Change 2-Sided Printing to “2-Sided Print, Flip on Short Edge.”

Portrait: Long-edge Printing
- File > Print
- Choose your desired printer
- Click “Printer” button on bottom
- Open the dropdown for “Two-Sided”: change to “Long-Edge Binding.”
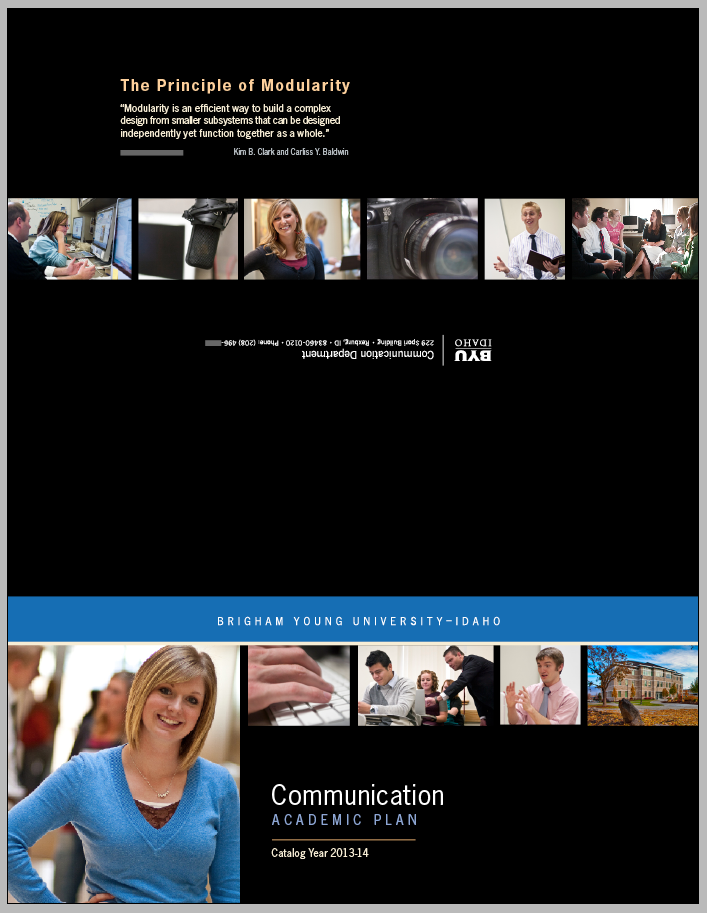
- Try a different type of trifold by turning your paper to portrait so you will open the folded trifold from the bottom. Our Comm Dept brochure below is an example of this trifold style.
Rubric: 40 points
NOTE: Meeting these minimum requirements will result in a 80% or B- grade, according to the University Grading System. To receive a higher grade, students must exceed these minimum expectations.
√ Design Principles
• Message: Clear message • Audience appeal/relevance
• Proximity: Adequate white space/grouped white space/not trapped • Proximity Grouping/adequate spacing
• Contrast: Draws eye/focus • Hierarchy • Avoid conflict
• Repetition: Repetition (elements repeat) • Unity
• Alignment: Avoid centering • Placed with purpose • Creates relationships
• Good Design, Creativity and Uniqueness, and Shows Effort
√ Typography
• No more than 2 fonts • Contrasting fonts • Title size/font contrast • Appropriate leading/kerning/tracking • Easy to read • Text spacing in box • Text not to close to edges of page or other elements
• Small body copy (10-12pt) • No widows • No orphans • No underlining • No hyphens • Consistent paragraph alignment/indenting/spacing • Proportional text (not squished or stretched)
• Original copy (250 words and must have 3 or more ¶s with subheadings) • Applied Body Copy rules
• Appropriate caps • Correct spelling/punctuation/grammar
√ Images
• Original logo created in Illustrator • 4 or more images (not including logo) • 1 of those images clipped (clean selection) & text wrapped • Proportional (not squished or stretched) • Quality resolution/No lost links • Image placement is appropriate
√ Video of Brochure
• Show all sides of brochure • Show images, logo, paragraph styles, margins, folds up-close • Printing – Folding – Trimming Process • Embedded into blog post
√ Submission
• Blog Post: Project displayed on post as large thumbnail • Description • Well-written process (Programs/tools/skills) • Critique Report • Message • Audience listed • Top thing learned • Colors scheme and color name • Title/Copy font & category listed • Word count • Thumbnails of images • Links to images/Source (title of site, not Google) • Add link to blog post in I-Learn and screenshot of full blog post in notes section • Class Participation and Keywords
• Print: Duplex print (two sided) • Appropriate size for content • Full bleed • Consistent margins • Straight/crisp folds • Edges align • Straight trims • Quality Resolution/Not printed from the blog jpeg • Portfolio quality paper (color printer) • Overall quality
CAUTION: your assignment is not complete until you submit in I-Learn. However, you are allowed a one-time extension, if you choose to use your mulligan. (See syllabus). We check your blog post for completion right at the deadline, so please do not add things after submitting your link, until it has been graded.