Set Preferences to Inches: Open InDesign. If your rulers are not set to inches, choose InDesign > Preferences > Units & Increments, then change the Horizontal and Vertical to “Inches.”
Open New Document: Choose File > New > Document and enter the following.. 2 pages; Uncheck “Facing Pages”; Page Size: Width 11 inches – Height 8.5 inches; Landscape Orientation; 0.25 in. Margins. Save it as 10CJakeSpencer-Offset.indd
Add Ruler Guides that will be the Fold Lines: On Page 1, click and drag inside the Left Ruler to add a ruler guide at 6.25 inches. Add two Ruler Guides on Page 2: at 4.75 in. and 9.25 in. These guides are different on Page 2, because it is the inside of the brochure. An offset brochure does not fold in the middle, but instead, reveals a 1.5 inch panel on the right side.
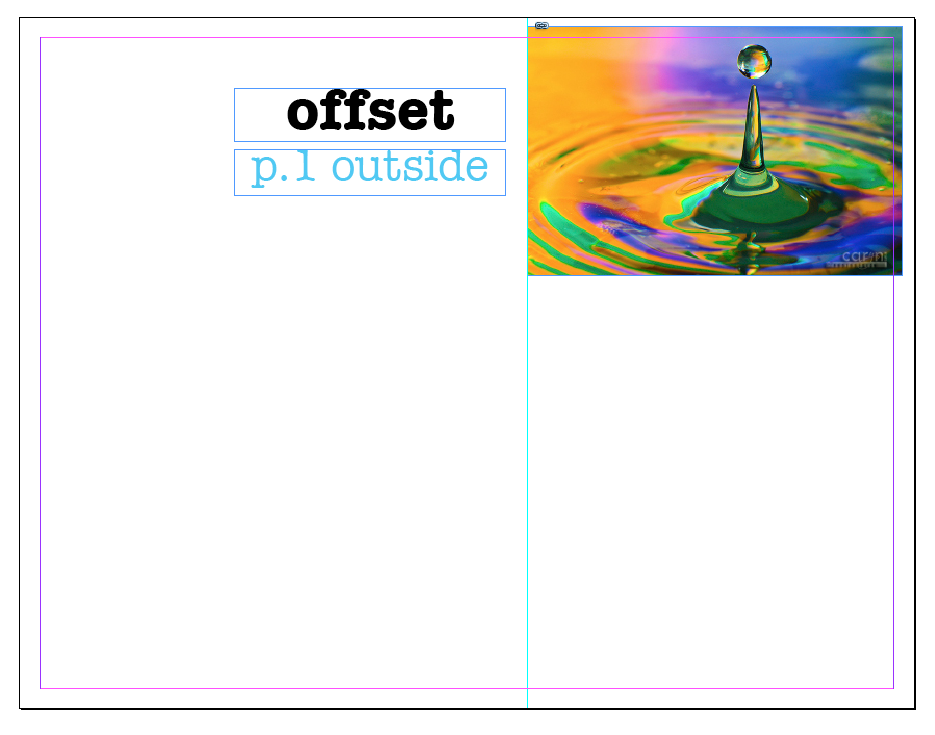
Insert front full-bleed image: Click the waterdrop image (Orange Pinnacle) below, to enlarge it. Right click and save it to your Offset folder. In InDesign, go to File > Place and select the image. Match the layout to the right. Use the Free Transform Tool (E) while holding Shift to resize the image proportionally. Be sure you extend the image past the trim lines (pink and purple margins at .25 from the edges) to create a full bleed.
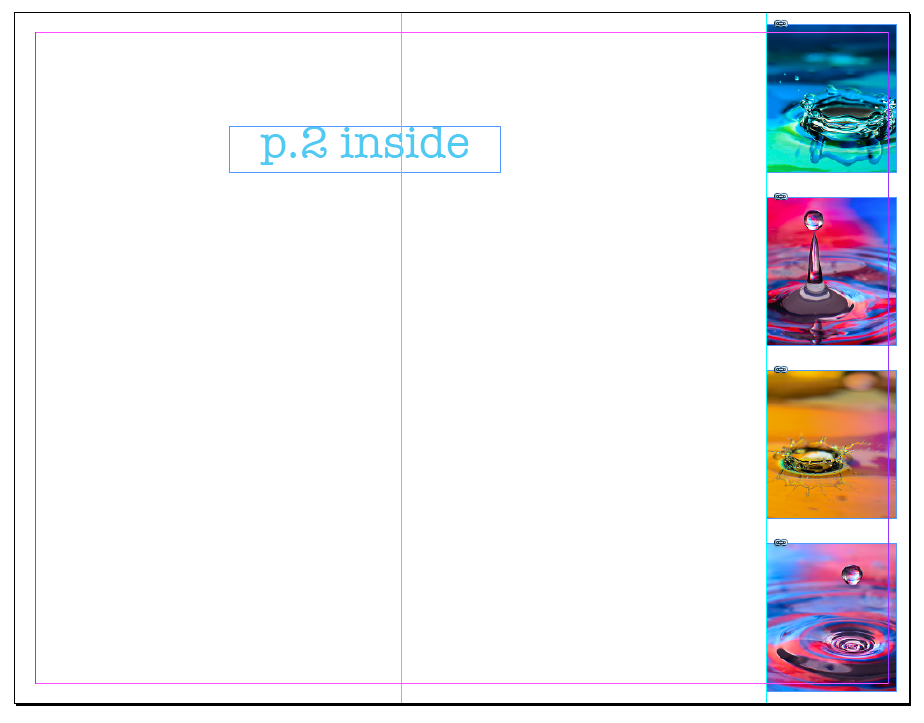
Insert 4 side-panel images:Click this link to download the four remaining waterdrop images and save to your Offset folder. In InDesign, go to File > Place and select all images at once. They will all load up in your cursor. Click the InDesign layout once for each image, until all images are placed in the side panel. Use the ruler guides to make each image a full bleed to match the diagram on the right.
Text Labels: Add text labels, so if you use this layout for your brochure project you will remember which page is the front of the brochure.
Save your InDesign file with the images in the Offset folder. Go back to the activity page in Week 10 > 10C: Brochure Activity – Duplex Layout to finish.